Technique of Anchoring Leads Using Sleeves
Anchoring of Leads
Anchoring of lead to refers to suturing of the lead sleeve in a correct manner to prevent slippage of the actively fixed lead.
The Sleeve
The sleeve anchors the lead to the pocket floor and prevents it being pulled out. The sleeve does this by gripping the lead body and holding it down to the pocket floor via sutures. After about 6 weeks following implantation a robust layer of tissue forms around the device and the adjacent lead which is termed as the capsule of the pocket. This layer holds down the device and prevents it from migrating along the tissue planes of the chestwall. It also envelopes the leads and prevents them from moving. Thus the role of the sleeve is to hold the leads until the enveloping layer of tissue forms around the lead.
Suturing of the sleeve includes two steps : suturing the suture to the pectoralis muscle (the muscle bite) and encircling the sleeve it self.
From a practical point of view, the most important factor of a sleeve is the softness of the material in which it is made of. More stiffer the material (e.g St Jude’s Sleeves) higher the chance of non-tightening of knots and slippage of suture. In author’s experience, Biotronik has the softest sleeves and St Jude Medical at the other end with Medtronic and Sorin in between.
Before going in to details of suturing, its important to identify components of a sleeve : It consists of a hollow tube (Inside in which the lead runs through) with grooves on the sleeve body to place sutures. Some manufactures sleeves have “wings” for additional sutures.
One must especially be careful with St Jude sleeves as they require a significant force from the knot to hold the lead in place.
Suture Material
Suture materials can be either absorbable or non-absorbable. We use both depending on availability but prefer absorbable over non abosorbable. Theoretically, any material that will last for 6 weeks would do as the sleeve’s only role is to facilitate capsule growth over the lead. When one uses non -abosorbable material, the suture material itsleft can last years and if the material is black silk, then the infection risk (by entrapped bacteria) is also high.
2/0 Polyglactin 910 (e.g. Vicryl) will last for about 4 to 8 weeks and is an option for suturing the sleeve. Vicryl is readily available and therefore is conveniently at hand but there are important caveats for using Vicryl :
- Although it lasts more than 4 weeks, the tensile strength is lost by 50% by the fourth week and essentially none by 8 weeks.
- The braided vs. unbraided material: Some generic Vicryl preparations are upbraided and knot retention of these sutures can be very flimsy. For suture security, several knots (at least 8!!) are required – otherwise they slip in front of your own eyes. Furthermore, precise knotting technique is necessary to prevent slippage (i.e. properly placed surgeon’s knot).
- Vicryl is commonly available as generic forms – which are of doubtful quality – Therefore if applying to a stubborn sleeve (e.g. St Jude Medical sleeves), where significant tensile strength is required, it is not a good option
p-dioxanone (e.g. PDS II) – This material has better tensile longevity (60% at 6 weeks) may be a good choice over vicryl (author has no experience in using PDS11 in pacing)
Silk : Silk has excellent knot holding capacity and is forms very durable knots. However, one important fact to be kept in mind is the risk of retained products and infection – because a silk suture consists of fine fibers woven together (actually that is the fact that gives silk its unique handling properties). Therefore when choosing silk, it is necessary to reduce suture bulk by minimizing knots and limiting size to 3/0 or 2/0. Although silk is classified as non-absorbable, the manufacturer states that silk is essentially lost after 1 year from enzymatic degredation of its components -but from a practical point of view, silk does last for a long time – some times up to the next device replacement where the device anchoring silk stitch may be still present.
3/0 silk can break when force is applied and therefore a reliable brand has to be employed – we have never experienced a break with Ethicon’s Mersilk when significant force is required for St Jude Medical Sleeves – see below)
2/ 0 TFE Polyester (Ethibond): Synthetic braided n0n absorbable suture. This is also has good handle characteristics like silk but less and in theory should be less prone to infections as its a coated suture. However knotting characteristics are not as good as silk and therefore requires at least 4 knots (author puts 6 or more) for knot security
2/0 or 3/0 polypropylene(Prolene) : Synthetic monofilament n0n absorbable suture. Very good resistance to infection as it is a monofilament – but knotting characteristics are very poor – hence precise knotting using a proper surgical knot is essential. However once a proper knot is placed, its very secure.
Pre-requisites for Suturing the Sleeve
Method of Suturing the Sleeve
Once you are ready to suture, the sleeve should be slided to the pocket base. Sometimes the sleeves are adherent to the lead body and require some wetting from a wet swab to slide freely. The sleeve consists of a cylindrical tube and grooves across the tube to tie the sutures. The sleeve should be positioned in a manner where the end that is closest to the floor, should actually disappear into the depth of the pocket. If there are three grooves one groove should not be visible (i.e. be deep in the pocket floor) If there are only two grooves, both should be visible but one just at the pocket floor
The softness of the sleeve material determines the type of suture material necessary and strength of knot. The role of the sleeve is to keep the lead from sliding out of the pocket floor. Sliding out can occur due to traction from the device or patient initiated movements. If sufficiently pulled out, the lead may dislodge from the myocardium with loss of capture. In extreme cases, the entire lead may get pulled out into the pocket (Twiddler’s syndrome)
Author currently employs a variable method depending on need for lead stability vs infection risk from long retained sutures. If the lead stability is of question (worse case scenario being an obese woman with a St Jude Sleeve) we would use 3/0 Ethibond as it would give a long lasting tight grip along the sleeve. If the same patient is receiving a lead with a soft sleeve (e.g. Medtronic or Biotronik) will use one 2/0 Ethibond and one 2/0 Vicryl stitch to suture the sleeve. The opposite end of the spectrum would be a thin muscular male on a dual chamber device with tightly spaced leads. In this situation, the risk of the lead migrating out is minimal as it is already held down by a narrow space and tissue and therefore the sleeve has a minor role. In such cases, the sleeves will be sutured solely using vicryl – to minimize long term retained suture material.
First, a bite is take from the pocket floor (pect major muscle) – under the sleeve and should be generous (at least 1/2 cm of muscle incorporated). A knot is applied to tighten the muscle bite – this should NOT be too tight as a too tight knot will lead to muscle necrosis is and loss of support. Absence of muscle wrinkling after tightening the knot will indicate that the knot is not too tight. The knot itself should be a square knot just tight enough to keep suture anchored to the muscle. The knot will also prevent tension coming to the muscle once the suture is tightened over the sleeve.

Figure : The knot to the muscle floor – A conceptual overview using a dummy. Only a single square knot is necessary to anchor the structure to the muscle. Multiple knots at the floor should be avoided to minimize retained suture.
Thereafter, as shown, the suture is taken around the sleeve and a knot is applied to tighten it around the sleeve. The suture should be placed within a groove of the sleeve that is just visible and near the floor. The knot should be a full surgeons knot. Just before tightening the first loop, a radiologic assessment is taken to ensure that adequate lead length is left inside. (i.e. the lead should be a lax curve within the cardiac shadow) If the lead needs adjustments, it’s done before the knot is tightened. Thereafter the first loop of the knot should be applied with force as this is the most critical knot to keep the grip of the sleeve to the lead. It also has to be a surgeon’s knot to ensure that it does not slip during knotting. After the first knot, few additional square knots are applied for security – for silk 2 -3 knots and for unbraided vicryl, about 6 knots.
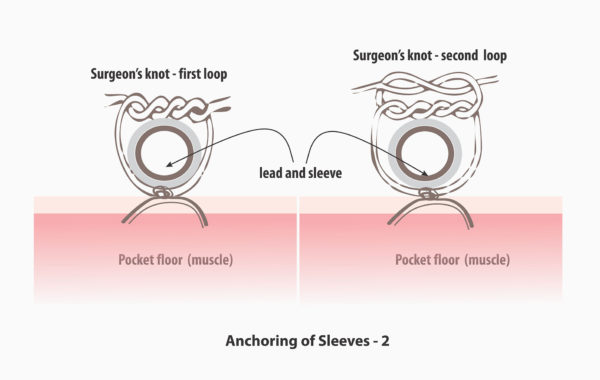
Figure : The knot to the sleeve – A conceptual overview using a dummy. The first of this knot has to be a surgeons knot to avoid slippage after the fist knot. (The surgeon’s loop prevents slippage before the subsequent knots are applied). A single throw square knot may slip before the other knots are applied and therefore not recommended as the first knot. The next few knots can by square knots. About 3 such are adequate for silk, but 6 to 7 are need for unbraided vicyl for knot security. Also note that reversal of the direction of the knots – this is essential for proper knotting – especially in for slippery coated or synthetic sutures.
The role of the suture is to keep help the sleeve grip the lead and keep the sleeve anchored to the pocket floor. Therefore suture integrity around the sleeve AND at the pocket floor is necessary
The next suture is applied to the next groove in a similar manner. Usually applying to two grooves is sufficient (i.e. suturing all three grooves are not necessary unless lead stability is of extreme concern). This is necessary to minimize retained foreign material (suture material) that can increase the risk of infection
Once both sutures are have been placed, a gentle tug is applied to the lead to check for proper grip. The stylet is kept inside until you are ready to attach the device.
Pictorial Demonstration - 1 - Single Lead
(Click image to zoom)
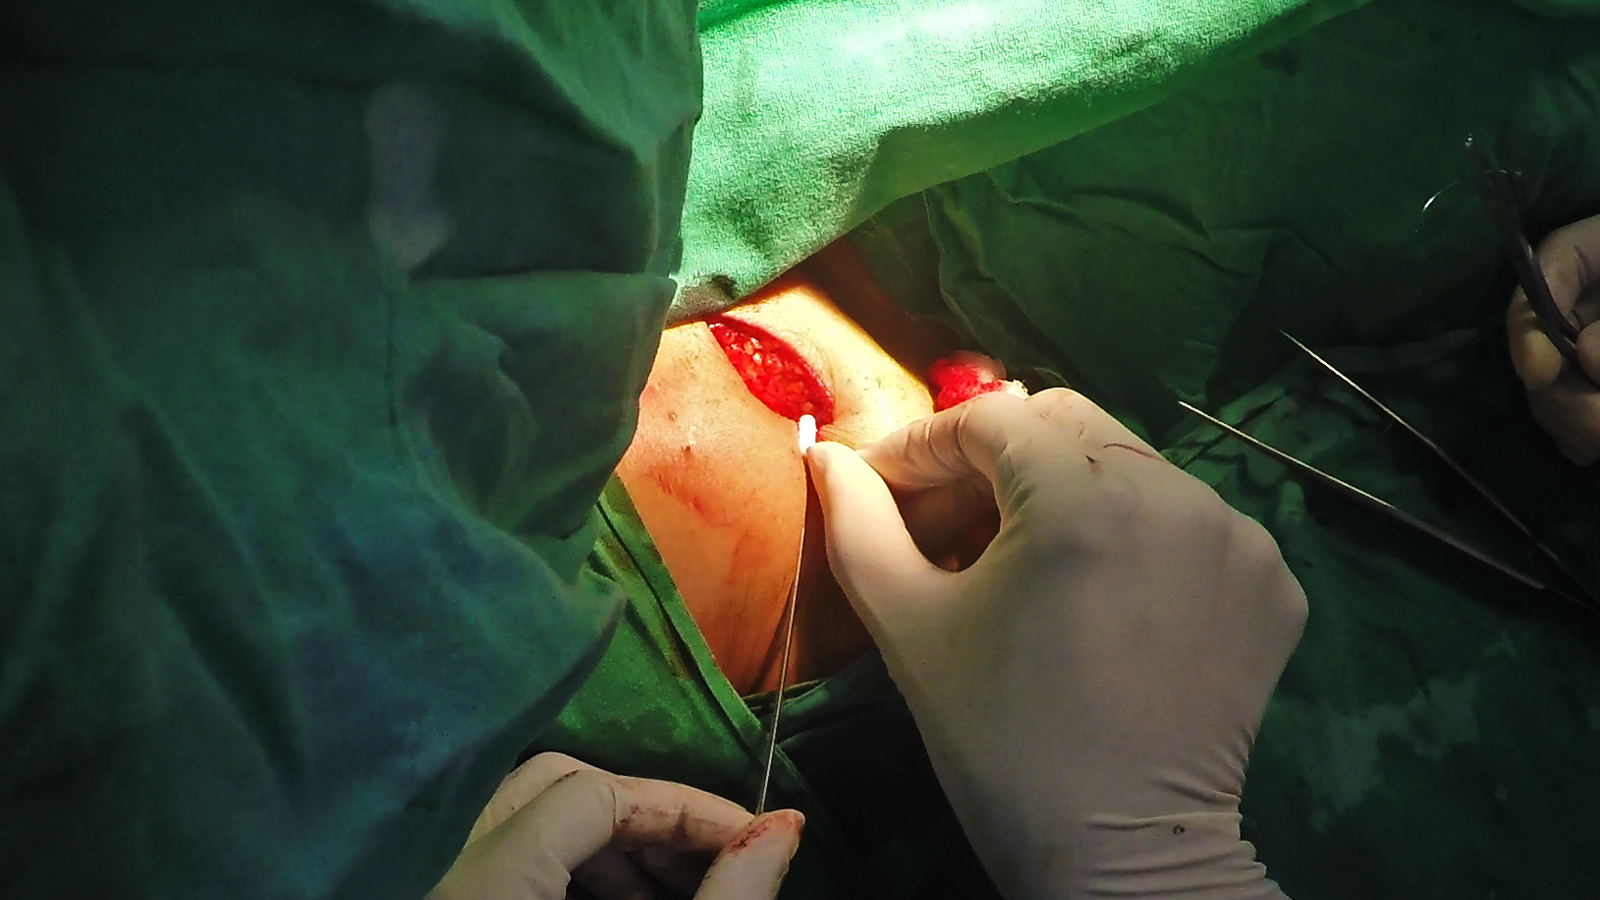
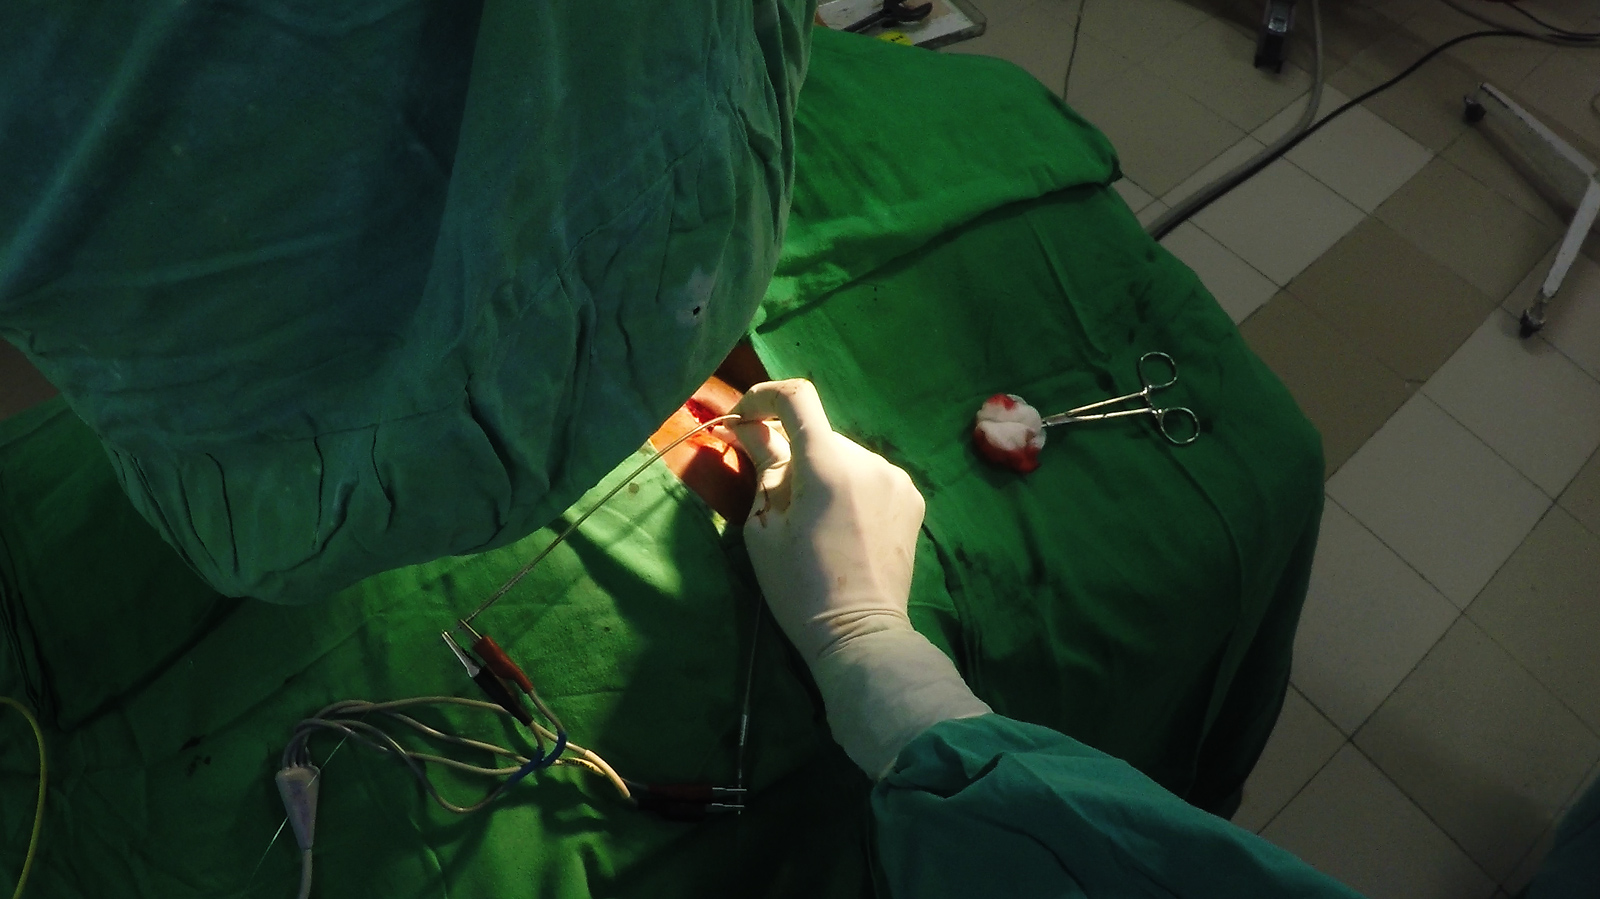
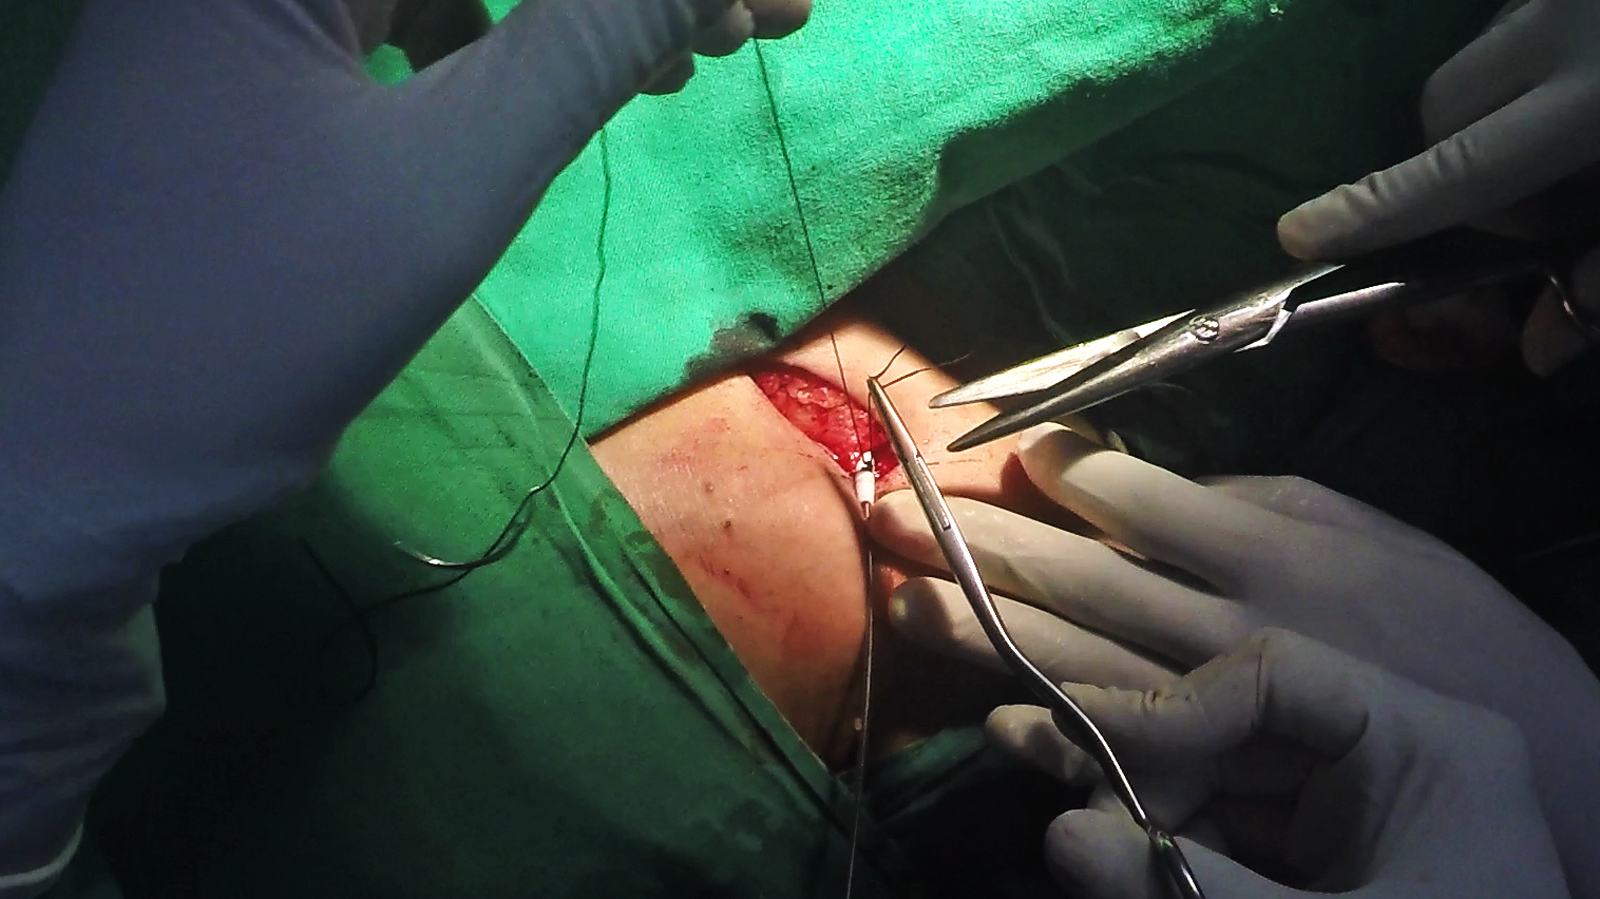
Slide the sleeve into the pocket floor
Take a muscle bite under the lead/sleeve. It should encompass about 1 cm of muscle tissue. Take care not to prick the lead !!

Now place a square knot and tighten the suture. It should not be too tight – otherwise muscle might necrose. Avoid more than one square knot – too many knots increase the risk of infection.
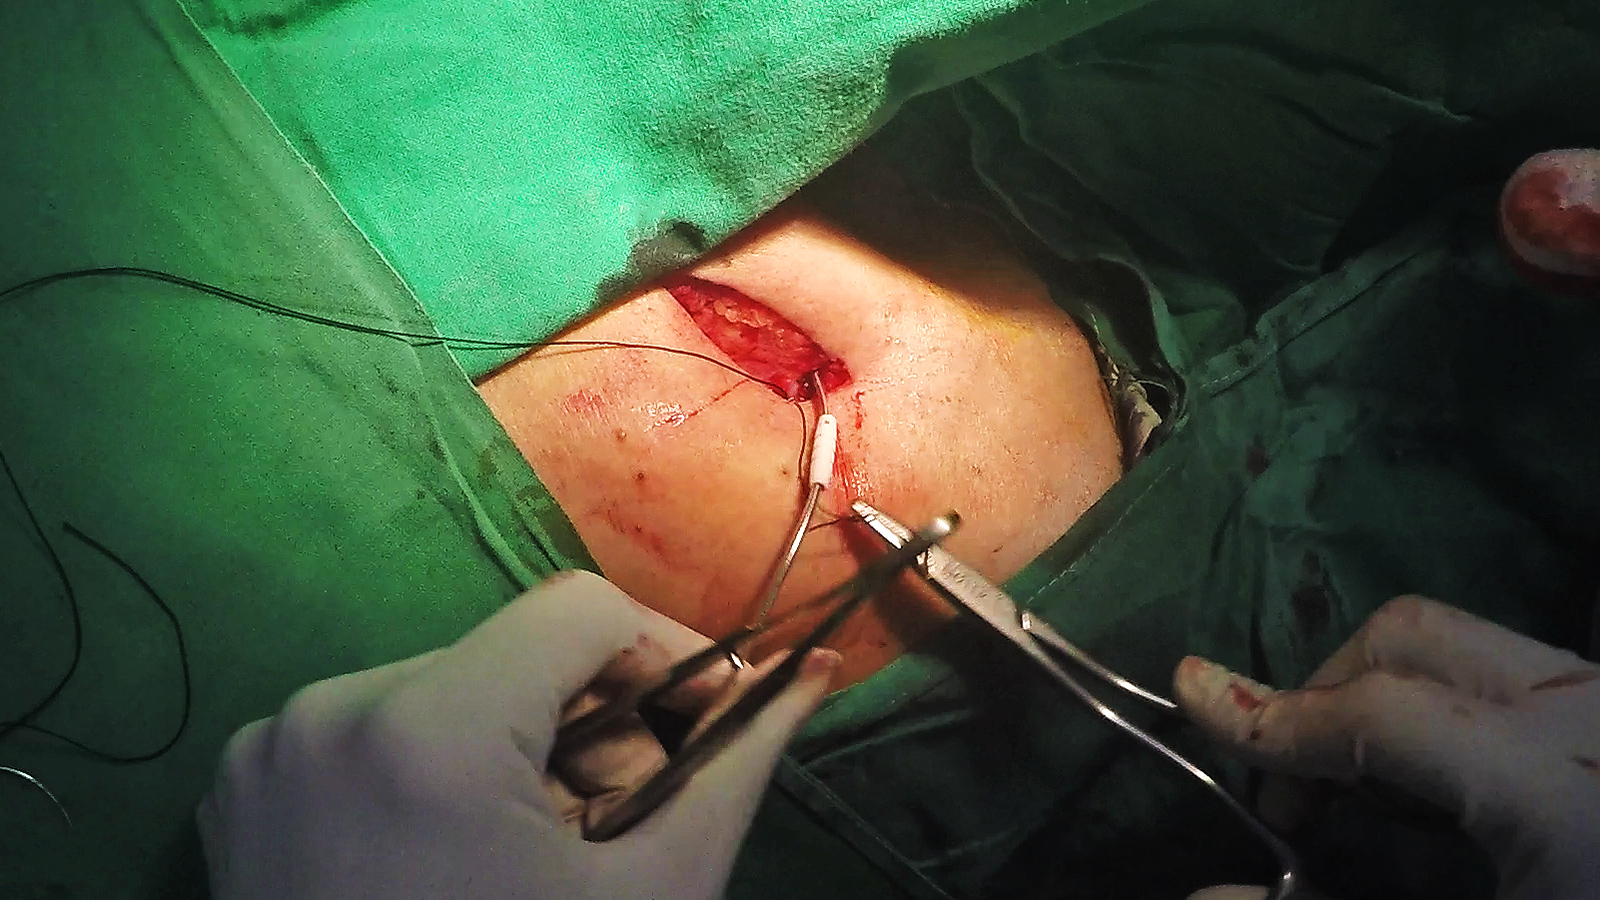
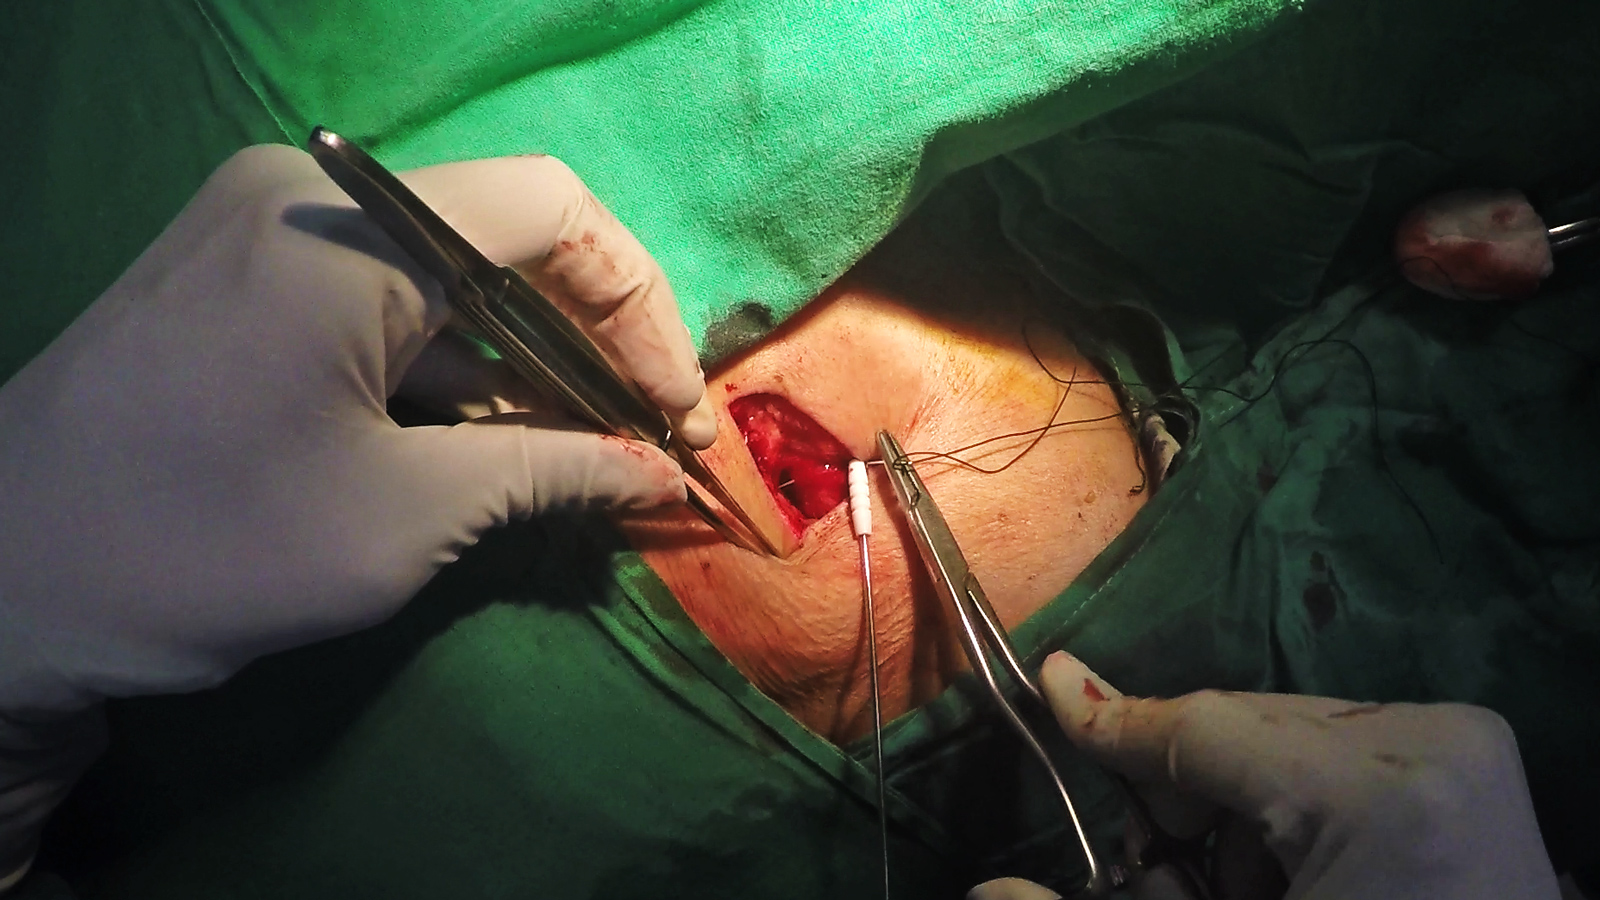
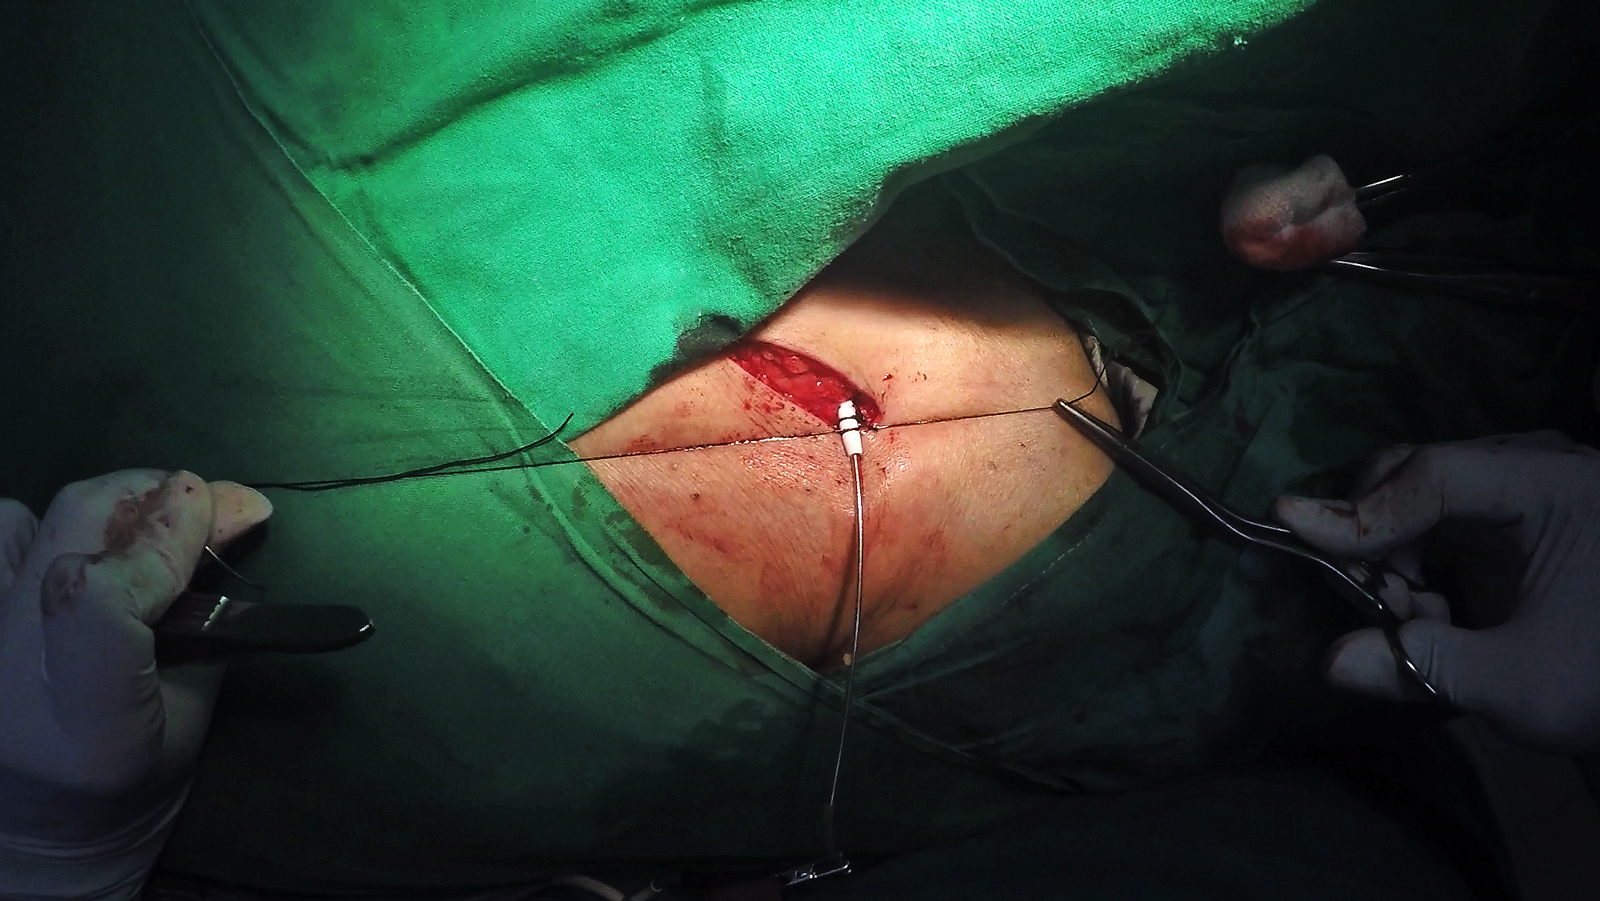
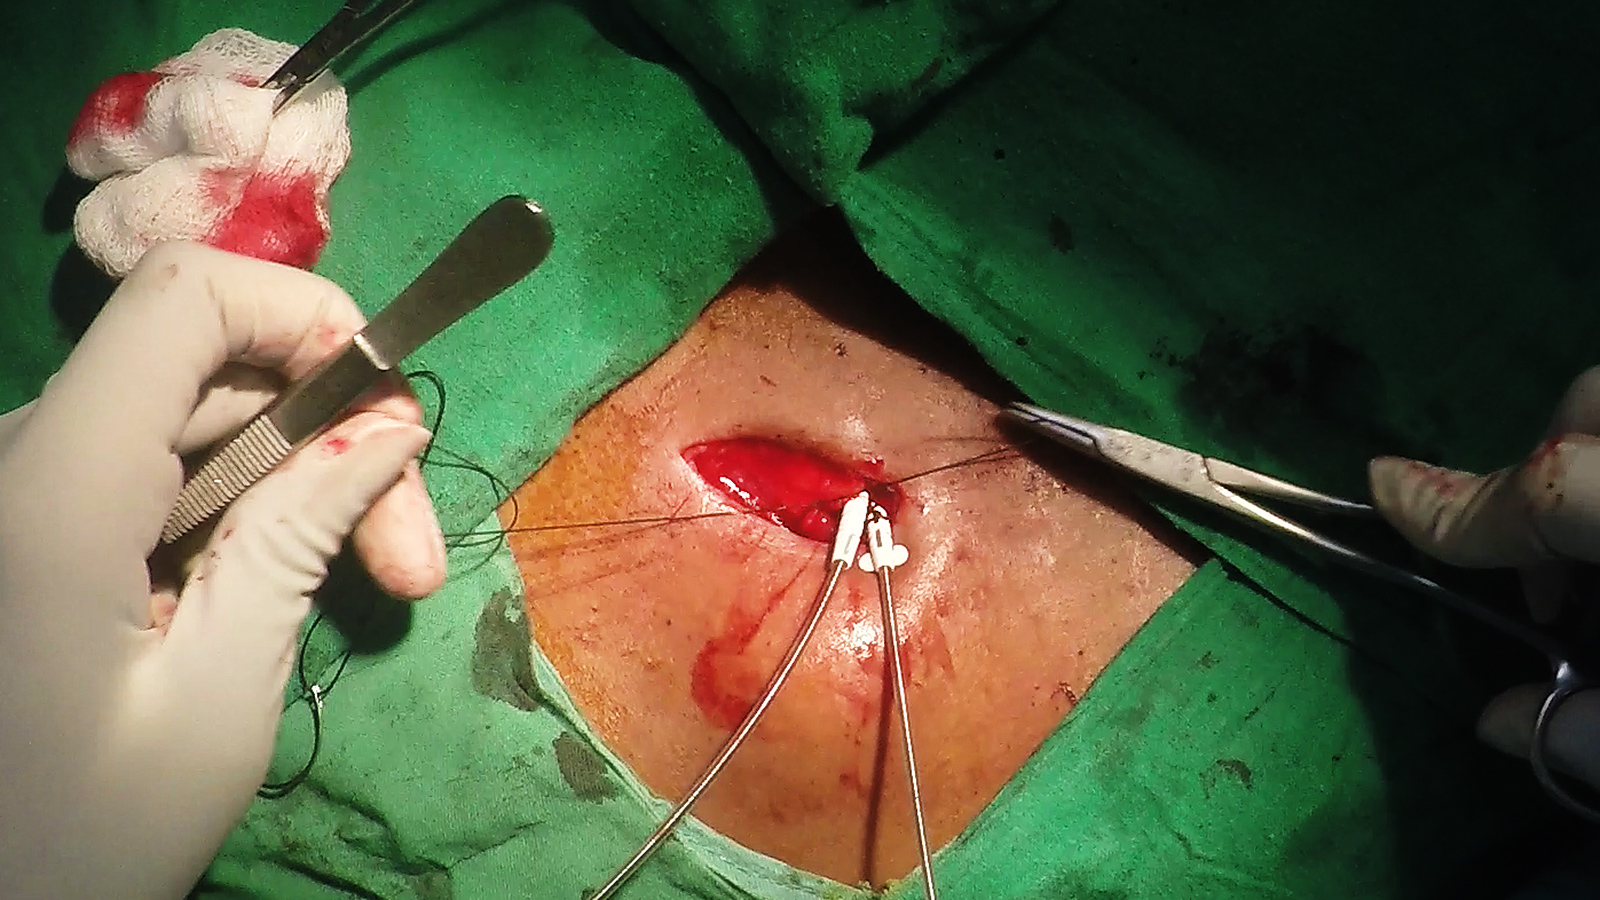
Now take the suture under the sleeve and position the sleeve in the pocket floor as to have the proximal groove hidden in the pocket floor. We will be suturing the distal two. Apply the first loop of the surgeon’s knot and tighten it partially
Apply the first loop of the surgeons’ knot but do not tighten it full. Recheck radiographically as to whether the lead is in correct place and verify adequate length is inside. Note : the other lead in the video is a temporary pacing wire from the groin.

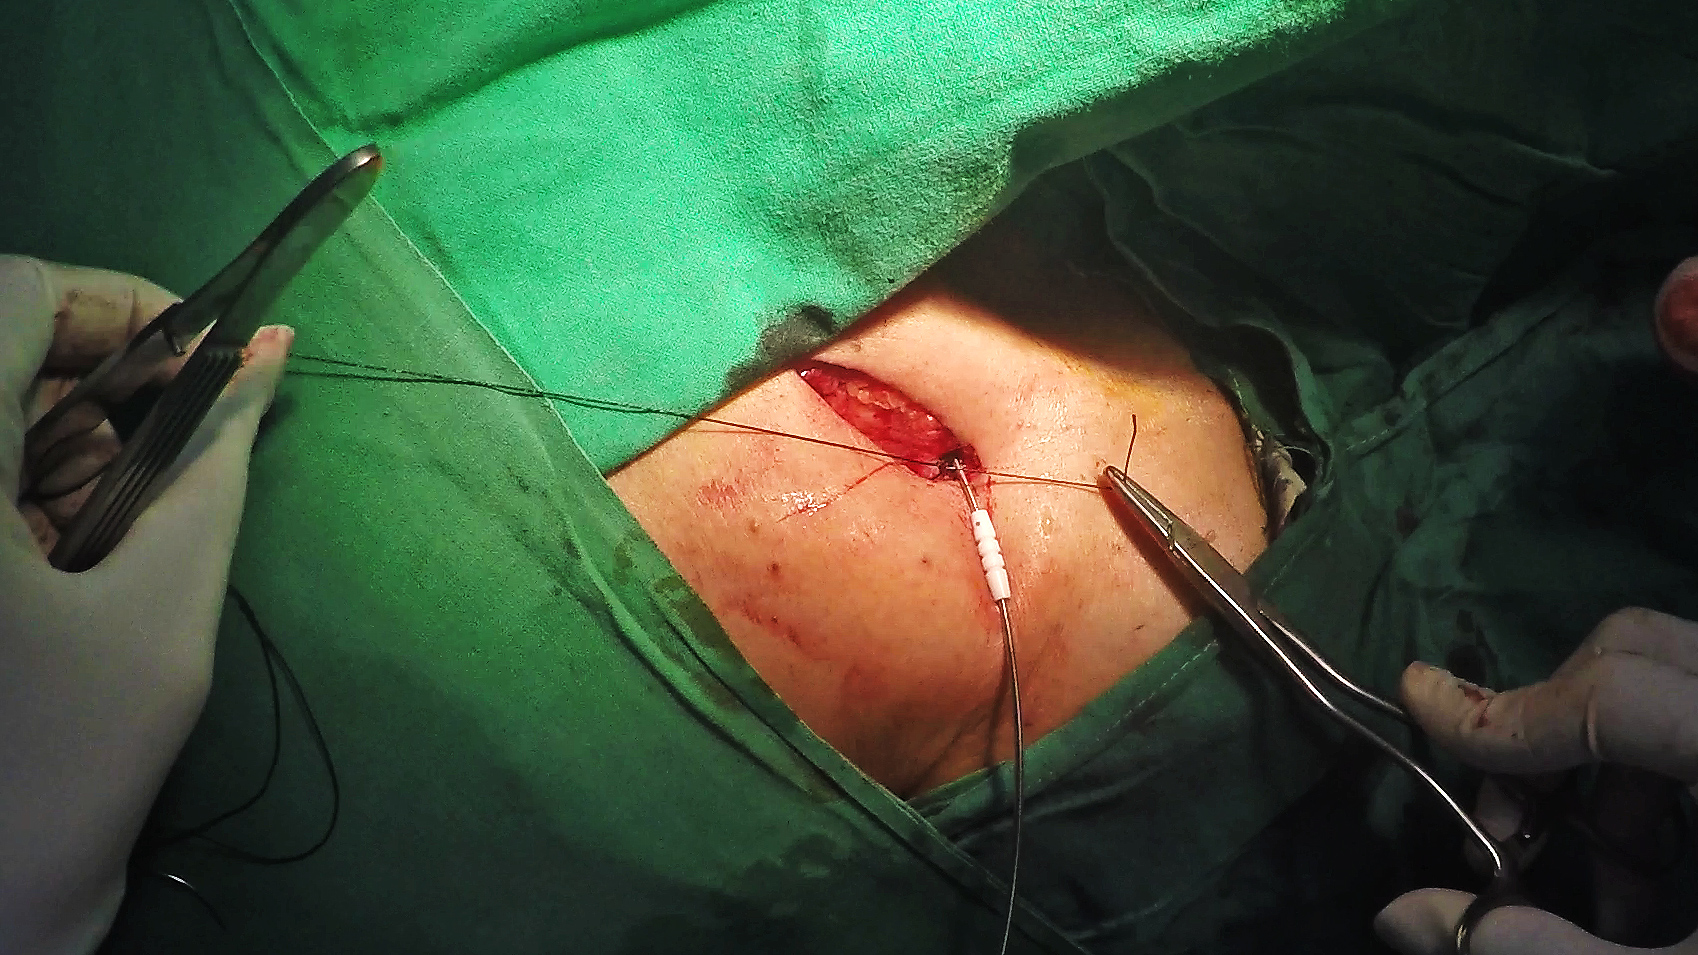
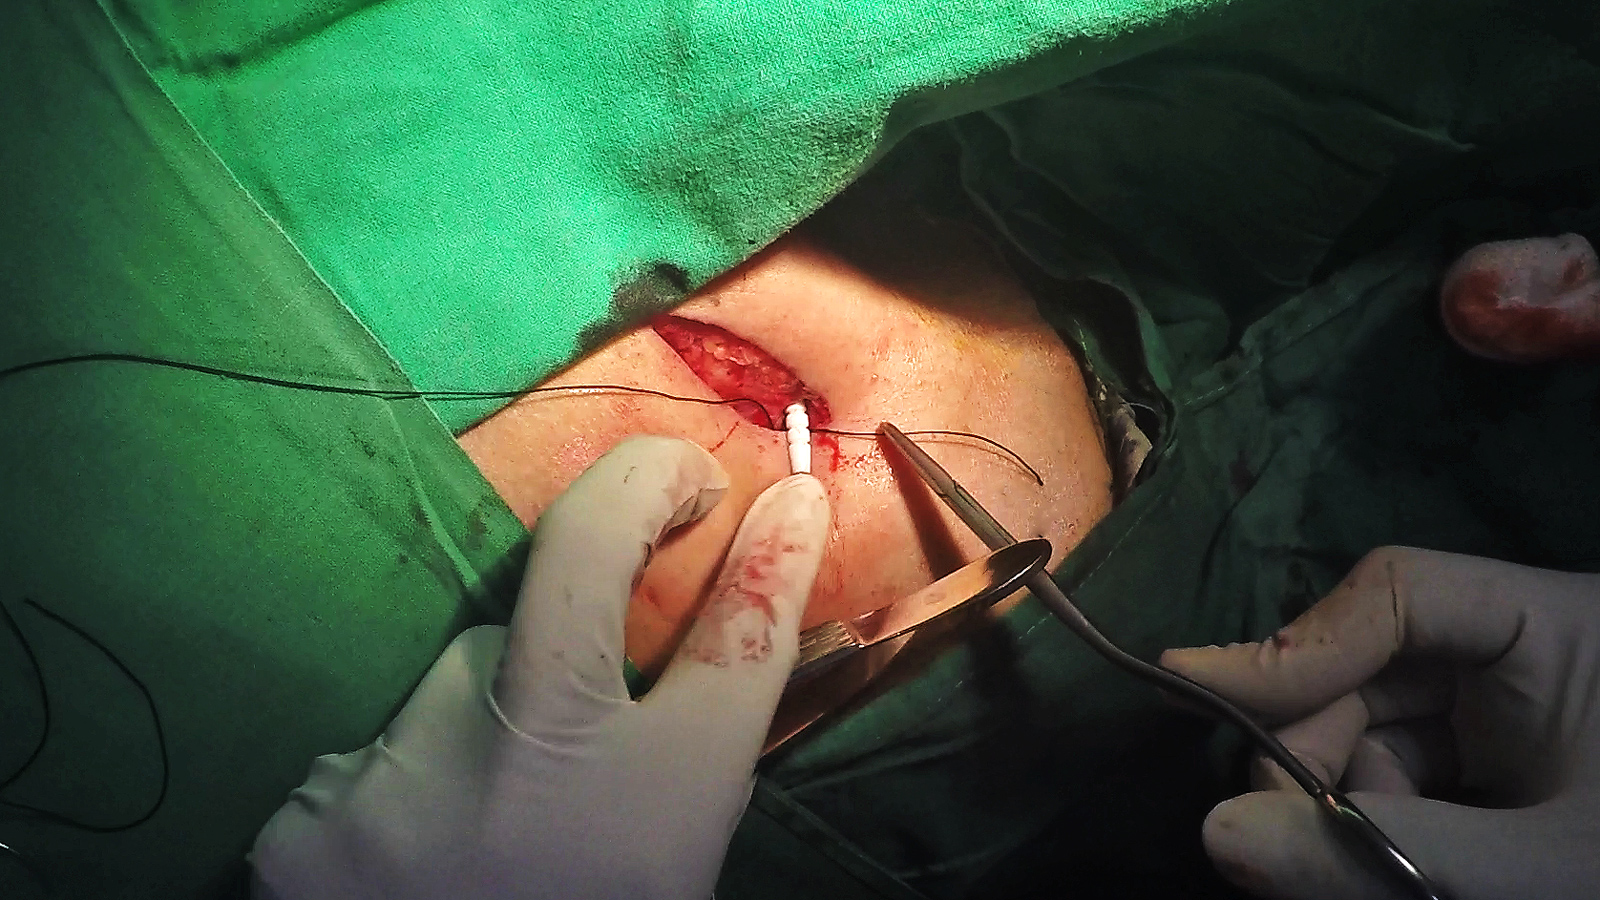
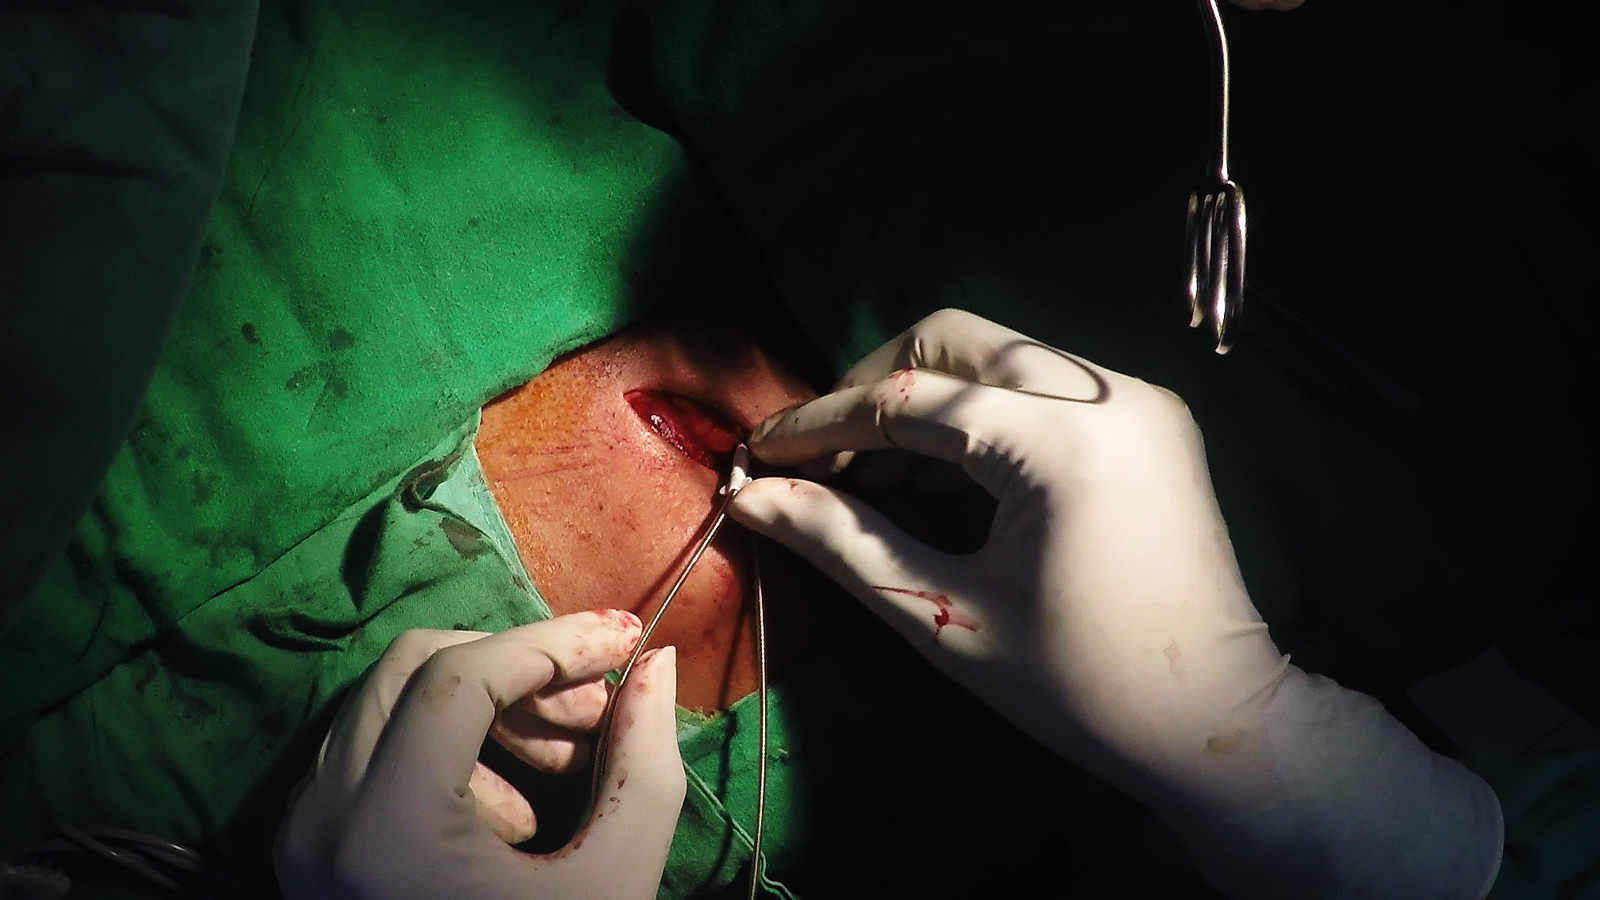
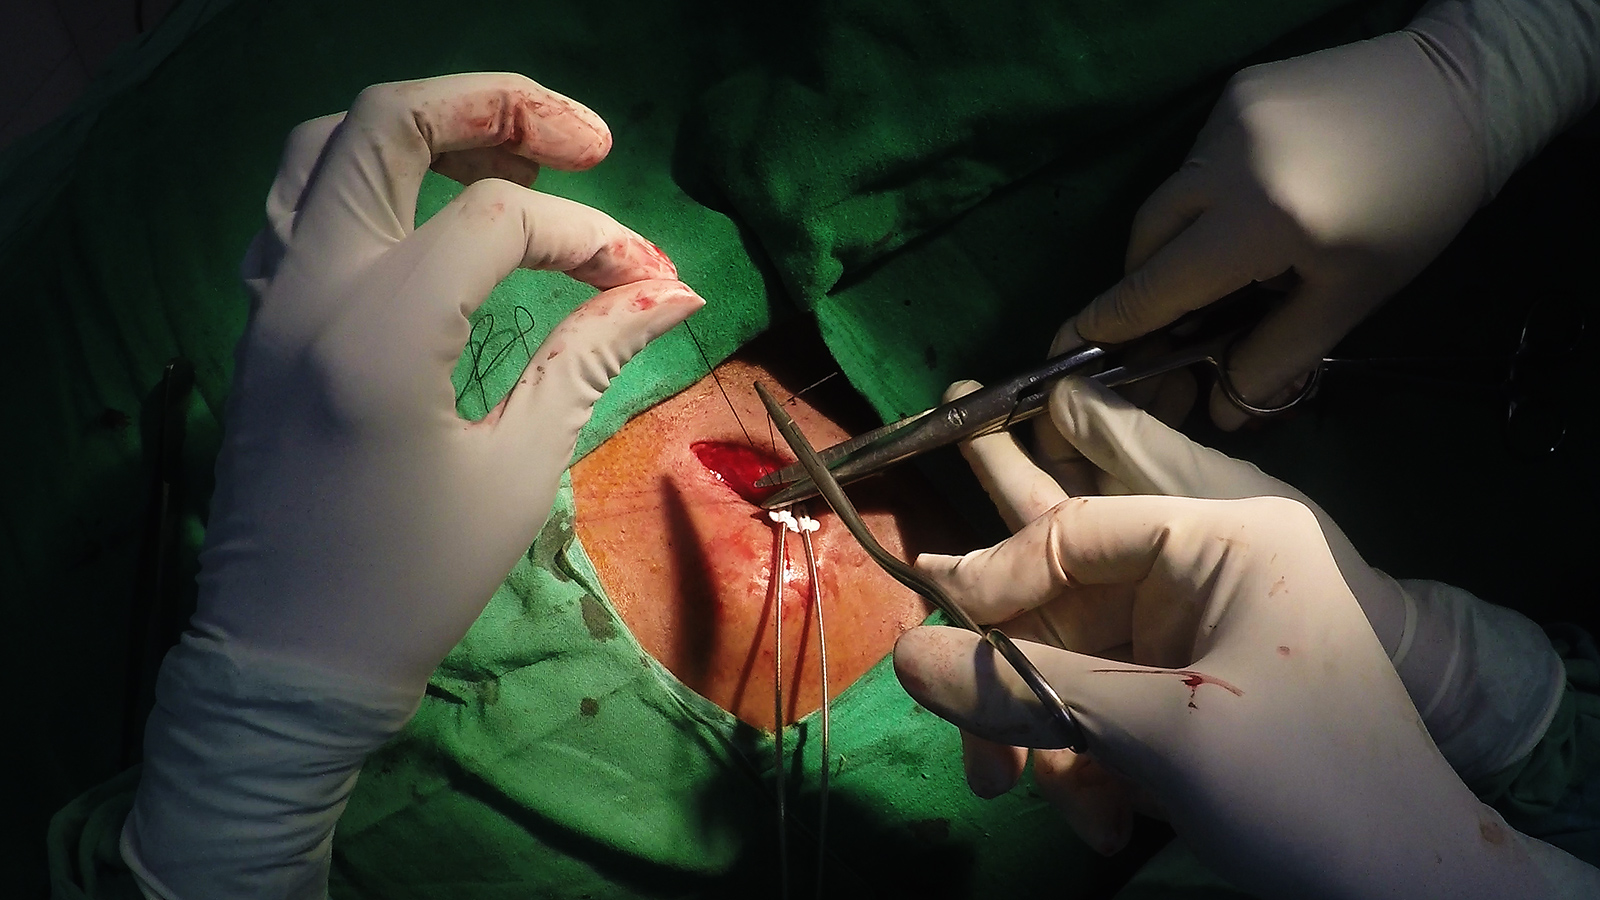
Now tighten the first loop of the surgeons knot with force so that the knot grips the sleeve and lead tightly. Apply the second loop of the surgeons knot without loosening the first (usually the first loop maintains force till the second loop is applied unless you fiddle in between)
Cut off the excess suture.

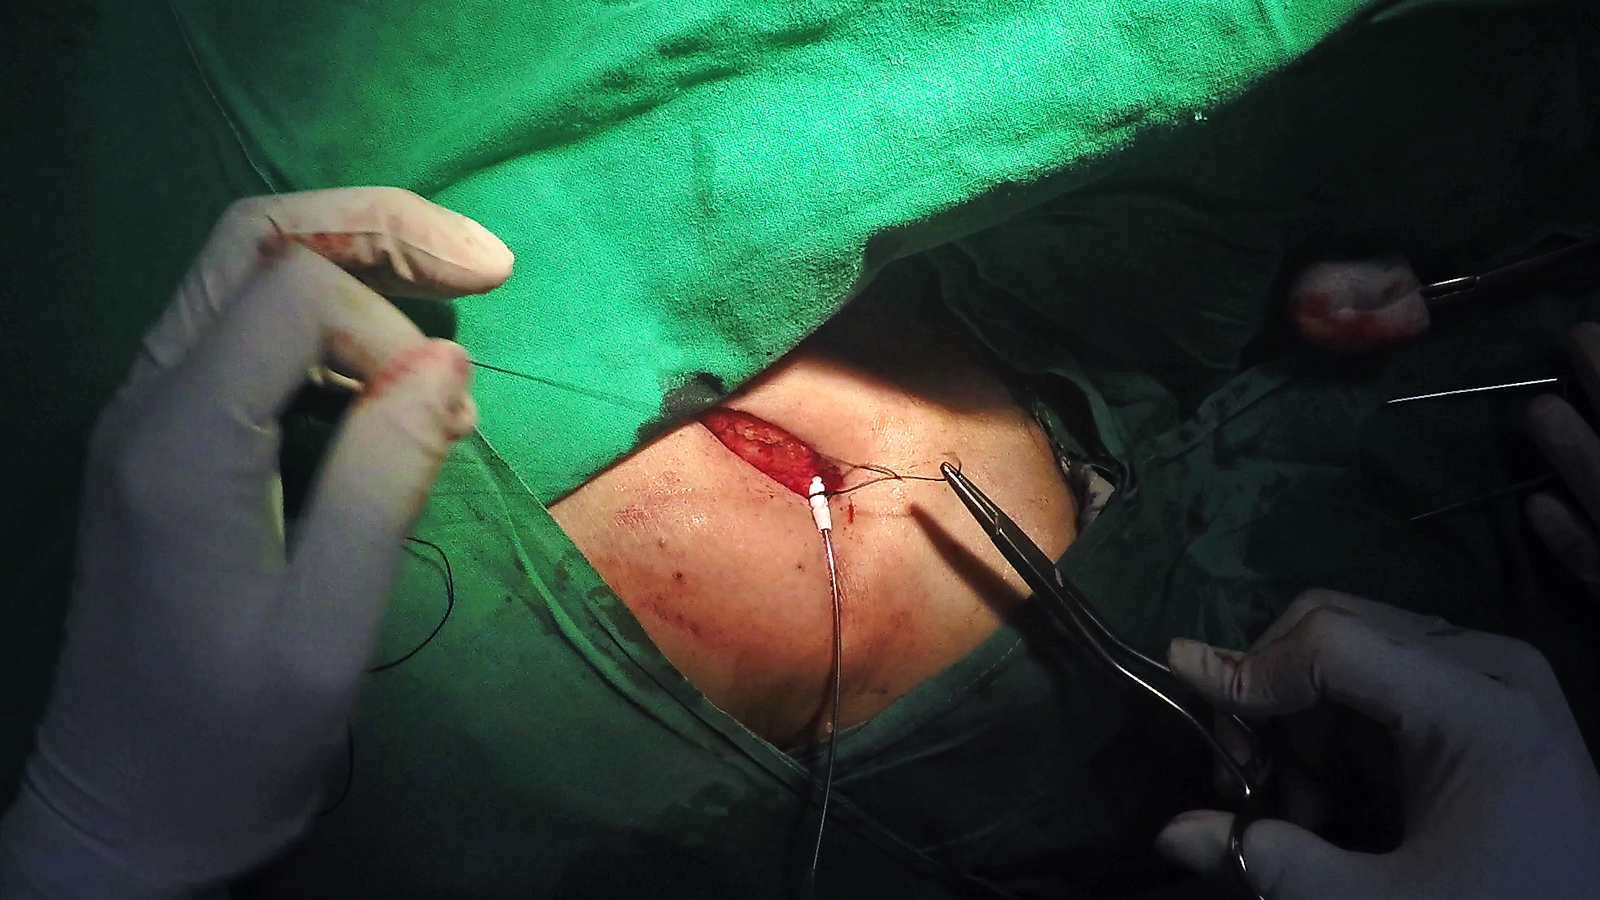
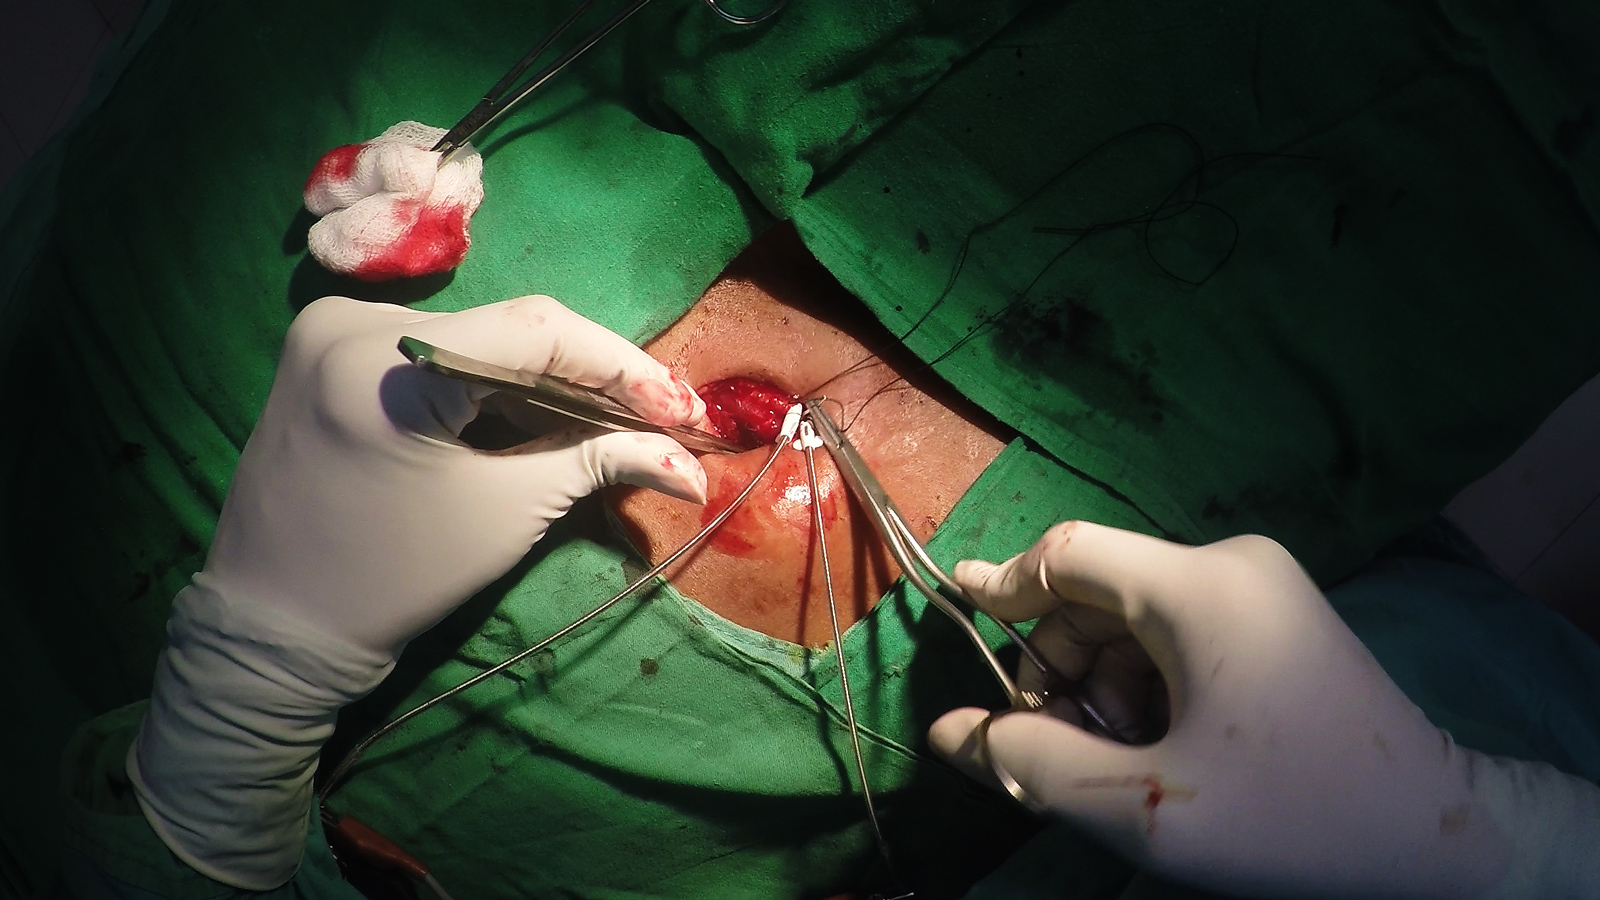
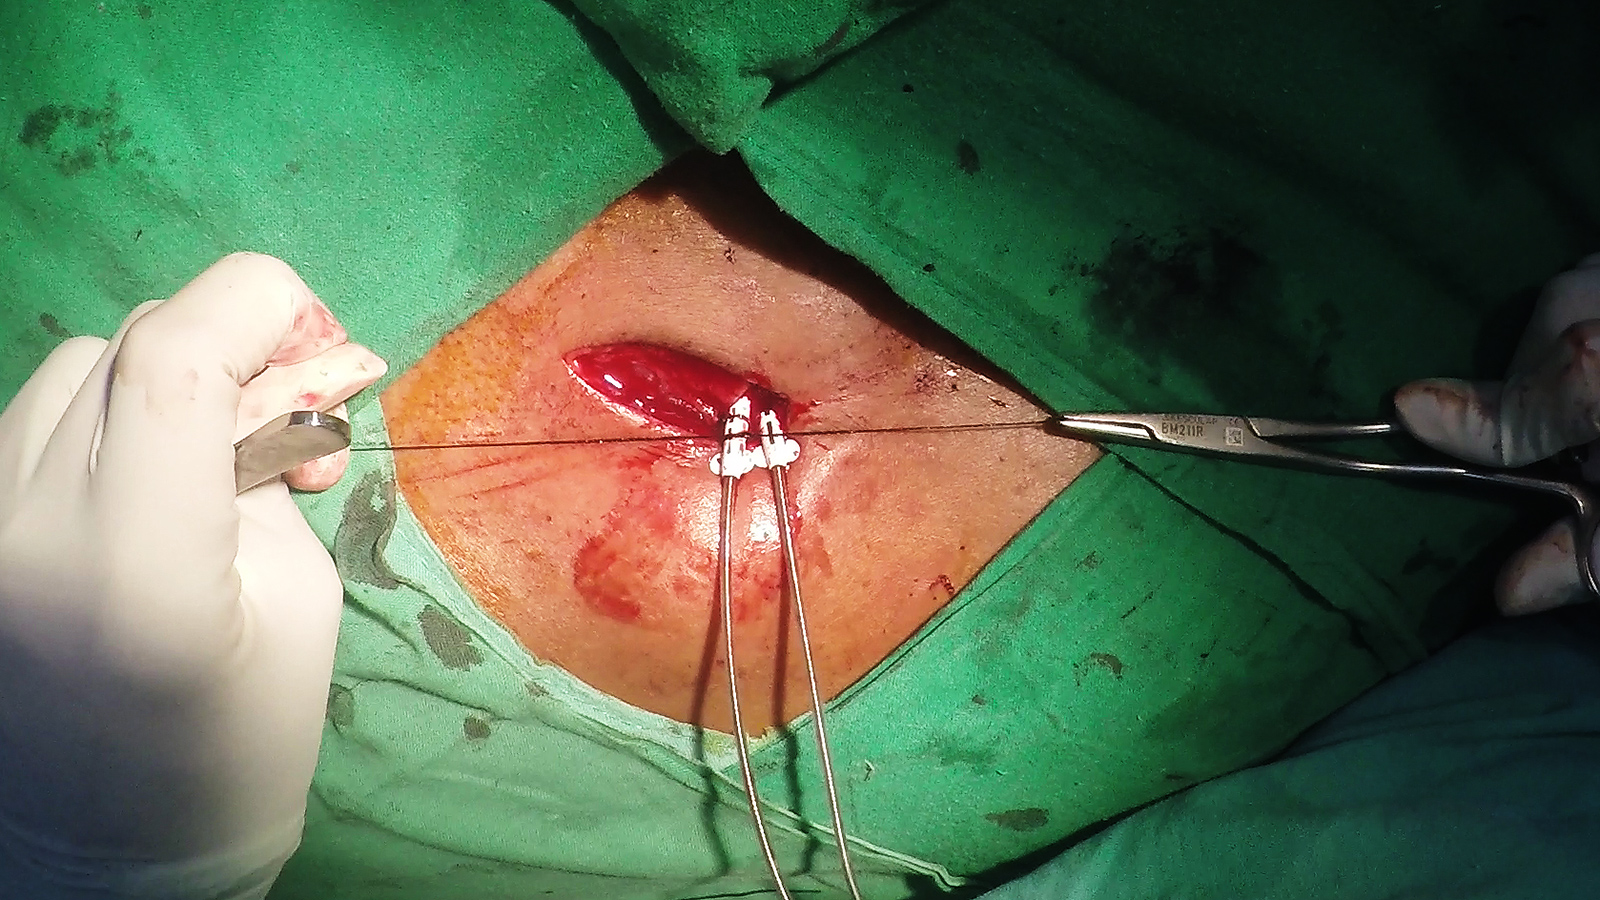
A stitch is applied to the second groove in a similar manner.

After suturing both grooves, gently tug on the lead to see whether anchoring is secure.
Pictorial Demonstration - 2 - Multi Lead System
(Click image to zoom)

Slide the sleeve into the pocket floor. Note that by convention (and some logic when lead curvatures are considered), the medial lead is the atrial lead. If an LV lead is also inserted, it is usually placed etither medial or lateral depending on space availability. Using a standard approach prevents lead interchanges.
Take a muscle bite under the lead/sleeve. It should encompass about 1 cm of muscle tissue. Take care not to prick any of the leads
Now place a square knot and tighten the suture. It should not be too tight – otherwise muscle might necrose. Avoid more than one square knot – too many knots increase the risk of infection.


Now take the suture under the sleeve and position the sleeve in the pocket floor as to have the proximal groove hidden in the pocket floor. We will be suturing the distal two. Take the suture under the sleeve and apply the first loop of a surgeon’s knot without fully tightening it.

One raiographically confirmed, tighten the first loop of the surgeons knot with force and apply additional knots as necessary
Cut excess suture.

Apply stitch in a similar manner to the next groove.
Video Demonstration
Video : Single chamber device – anchoring of lead
Impact on Lead Longevity & Prevention of Erosions
We have seen several cases of lead erosions occurring at the sleeve – many years after implantation. The primary cause was observed as inadequate tissue depth for the sleeve. (i.e. sleeve not in pocket floor). Therefore proper placement of the sleeve is very important. (Another aspect is proper wound closure – which is discussed in another section)
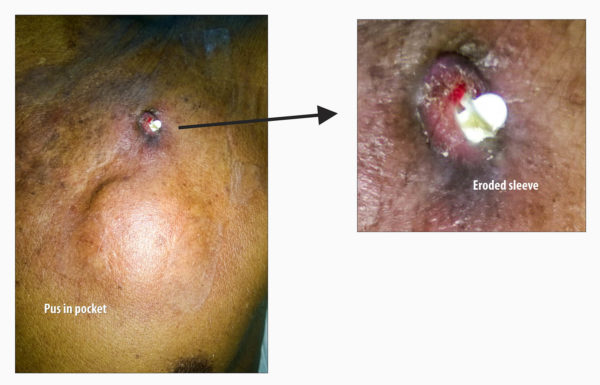
Figure : Example of a erosion occurring at sleeve site, 3 years after implantation. In this particular case, multiple factors would have helped the lead erode : Too close to skin incision, sleeve not in wound pocket floor & possibly long retained silk sutures.