Technique of attaching and placing the device in the pocket
Attachment of Device
Although easy to perform, an incorrectly attached device can be a future nightmare
Attachment of Device to Lead
The lead attaches to the device via its port located at the device header. The port and lead connector confirm to an international standard to enable any lead from any manufacturer to fit without an issue. For bradycardia pacing leads, the standard is termed IS-1. ICDs and Multi-polar LV leads have different standards and a detailed discussion of lead connector standards is given here.
Once the lead is properly anchored and the pocket is ready, the lead can be attached to the device. The patient should have a stable rhythm (either intrinsic or paced from an alternate source like a TPM). The patient should not be dependent on pacing from the pacing lead.
Never ever attempt to connect a lead that is actively providing pacing support to a patient. If the patient is totally dependent (intrinsic rate is less than 25 or asystole) on the pacing provided by the implanted lead (via the programmer) – establish alternate rhythm support before connecting to device. This may be via a temporary wire or pharmacologically using isoprenaline or dopamine. Operator can panic, equipment can fail (e.g the set screw) – it’s not the operator taking the risk – it’s the patient who is taking the risk. It is good practice to always systematically wean off pacing when lead checks are complete – rather than leaving it actively paced until the last moment. For the same reason, patients with critical pacing needs require a pre-operative strategy to maintain a stable peri-opertative rhythm See here on more on safety during pacing .
Pre Requisites / Steps
1. Properly Anchored Leads
The lead/s should be properly anchored to the pocket floor. The sleeves must lie well on the pocket floor. The electrical parameters should be acceptable and patient NOT currently paced from the lead.
2. Hemostatically Sound adequate pocket
The pocket should be hemostatically sound without any bleeders or oozing. Any gauze swab remaining in should be removed and the pocket must be thoroughly inspected for bleeders. Any active bleeders can be controlled with diathermy – but extreme caution is necessary to keep away from the leads. Thermal injury from diathermy can lead to an insulation breech
Practical Tip : In situations where the patient is on dual antiplatelets and there is significant diffuse oozing, an adrenaline soaked swab kept in the pocket for 5 minutes can significantly reduce oozing. The swab is prepared by soaking 10 ml 1:10,000 adrenaline solution. However this has to be done after gross bleeders have bean dealt with cautery – because adrenaline will even temporarily mask active bleeders and these will open up later once the pocket has been closed.
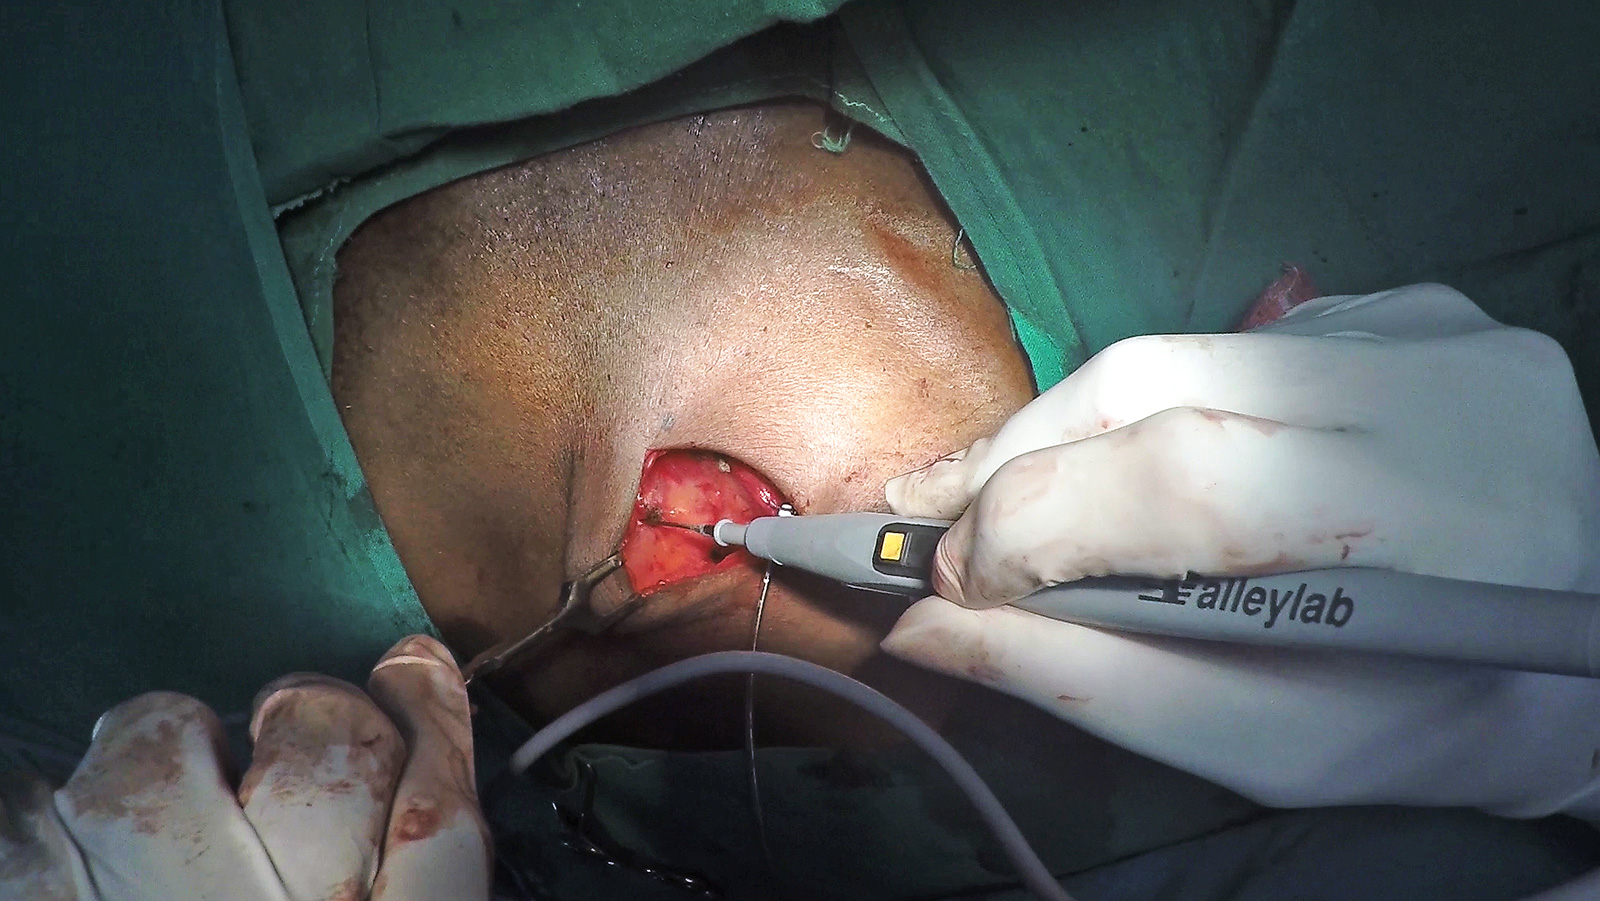
Figure : Using diathermy for minor hemostasis- Use extreme caution when applying diathermy as heat can easily damage the lead insulation. If there is significant bleeding or bleeding near the lead, best is to apply ligatures rather than risk a damaged lead from diathermy.
3. Disconnection of leads from programmer
Once the pocket is ok, the leads need to be disconnected from the programmer after ensuring own rhtyhm or other pacing support. Thereafter straight stylets which were inserted to facilitate suturing of sleeves are carefully removed. If multiple leads are present, only the right ventricular lead is prepared as such and the other leads are sequentially disconnected and attached to the device only after the RV lead has been attached. A methodical approach is necessary to avoid a lead mixup
4. Appropriate device available at the operative site
The appropriate device has to be bought to the operative site – devices are expensive and if dropped, cannot be used and therefore coordination is essential when handling the device – especially when and assistant is present.
If there is no assistant, the operator should pick up the device from it’s tray on the instruments trolley. If an assistant is present, the assistant can take the device in to her hand and hand it over to the operator or take the device tray it self and present it to the operator for him to pick up the device.

Figure : Handover by hand
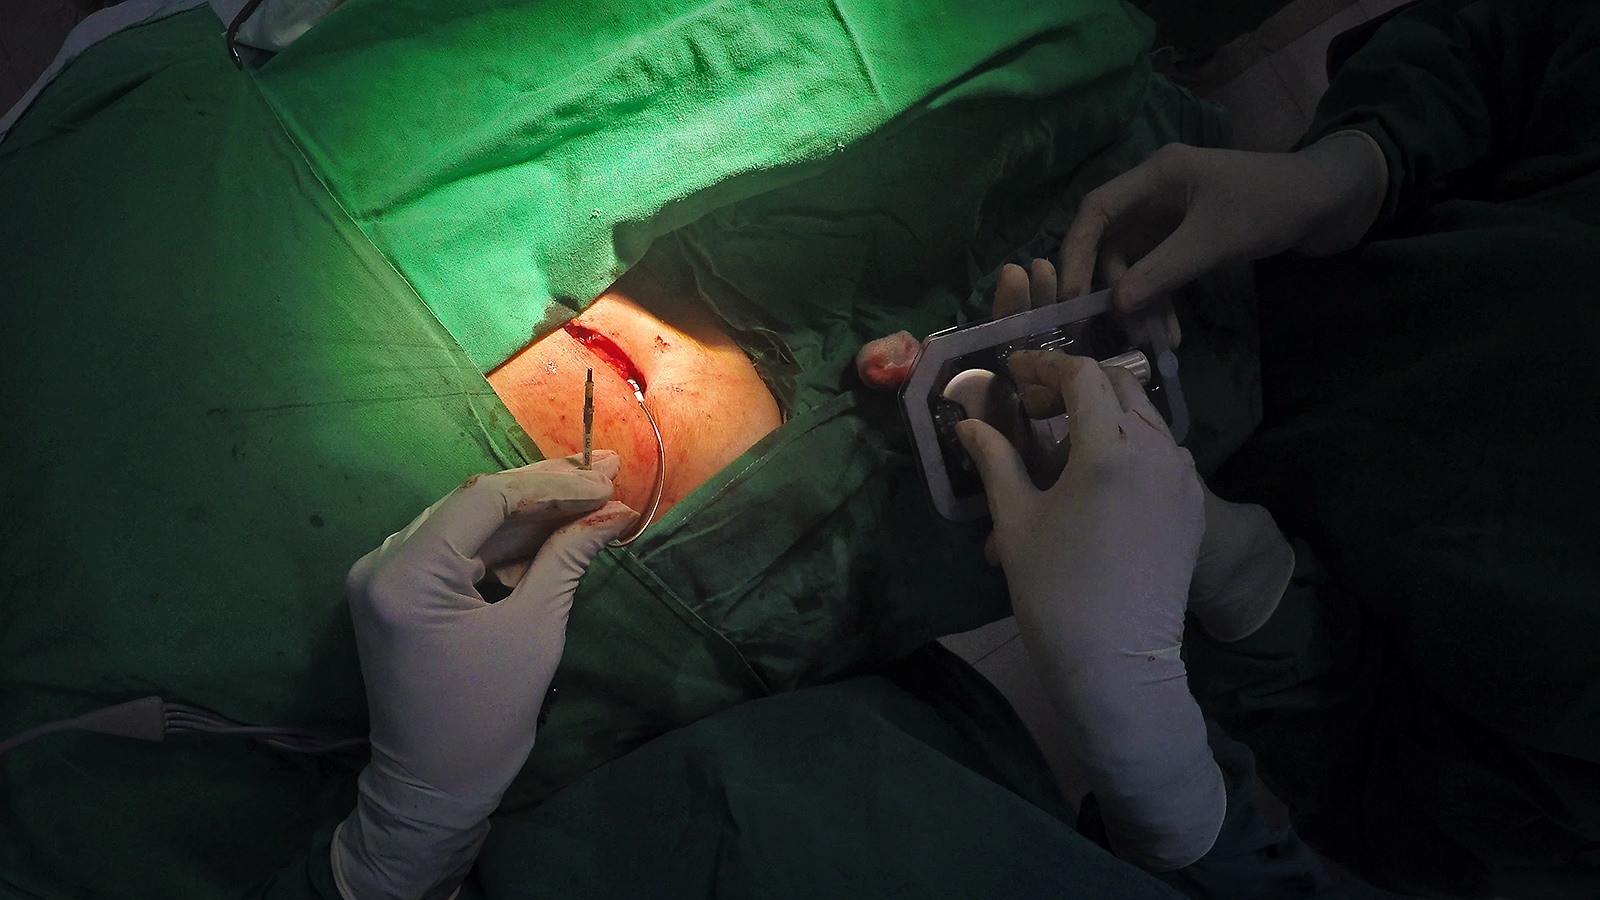
Figure : Handover by tray
5. Correct lead to the correct port
Although this sounds obvious, there have been instances where the leads were switched up at operative time. Consistent technique of placing the leads (medial for atrial, lateral for ventricle), Consistently attaching the RV lead first, Paying attention to paced rhythm after attaching the deice and immediate post operative on-table testing of device function all help to prevent this problem. One must be especially careful when multiple ports are at stake (e.g. DF1 CRTD system where 5 connections needed )
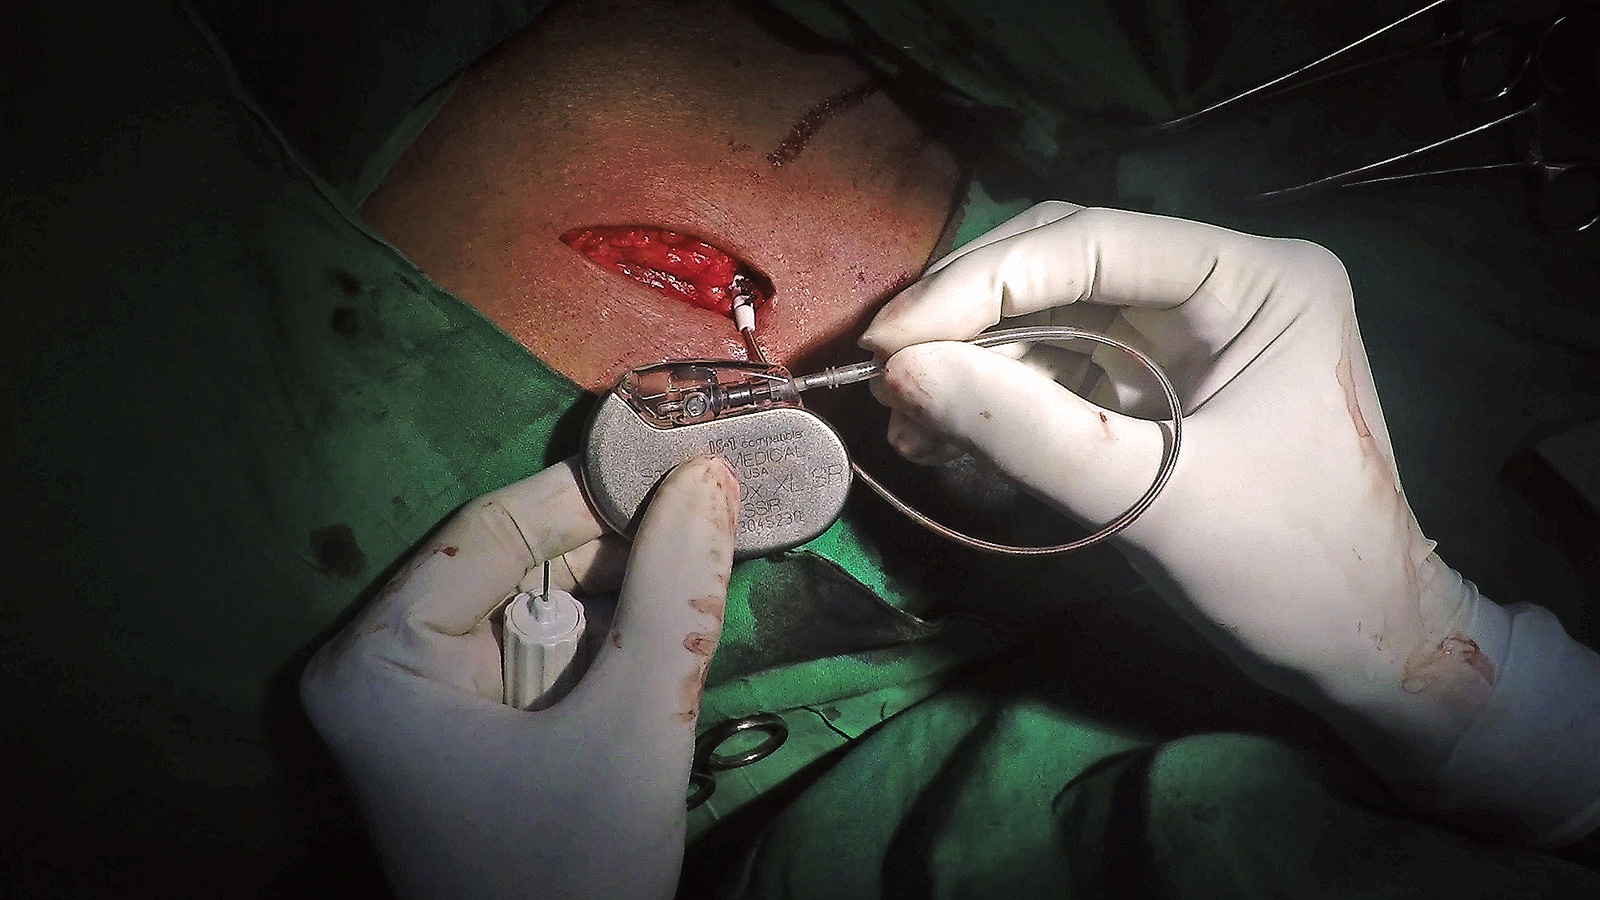
Figure : Single chamber – Attachment
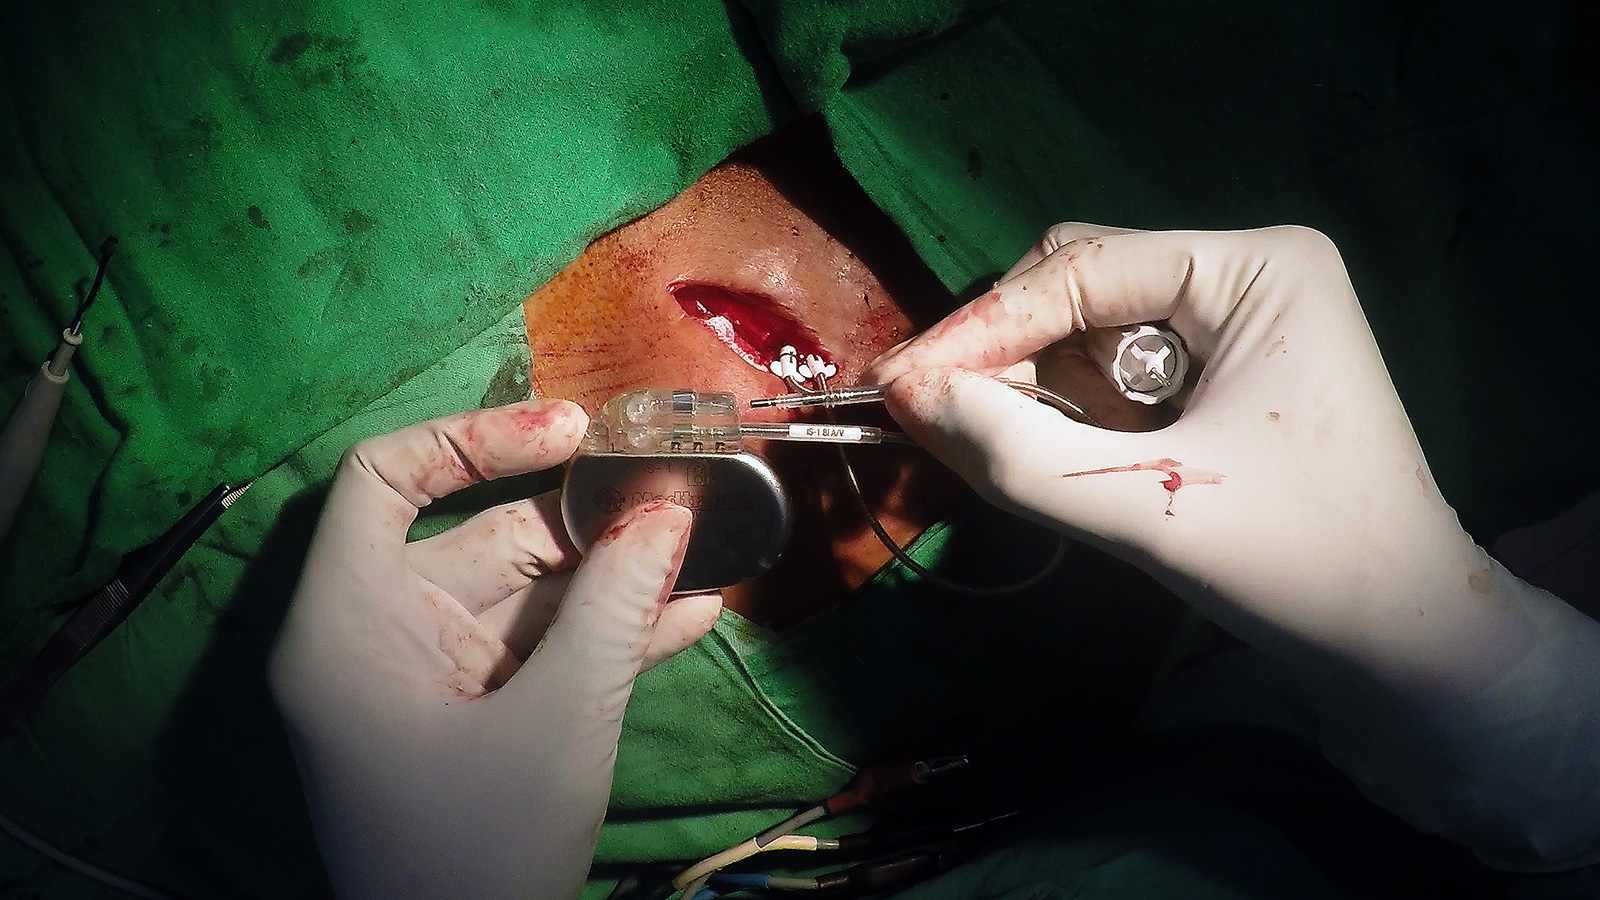
Figure : Dual chamber – Attachment
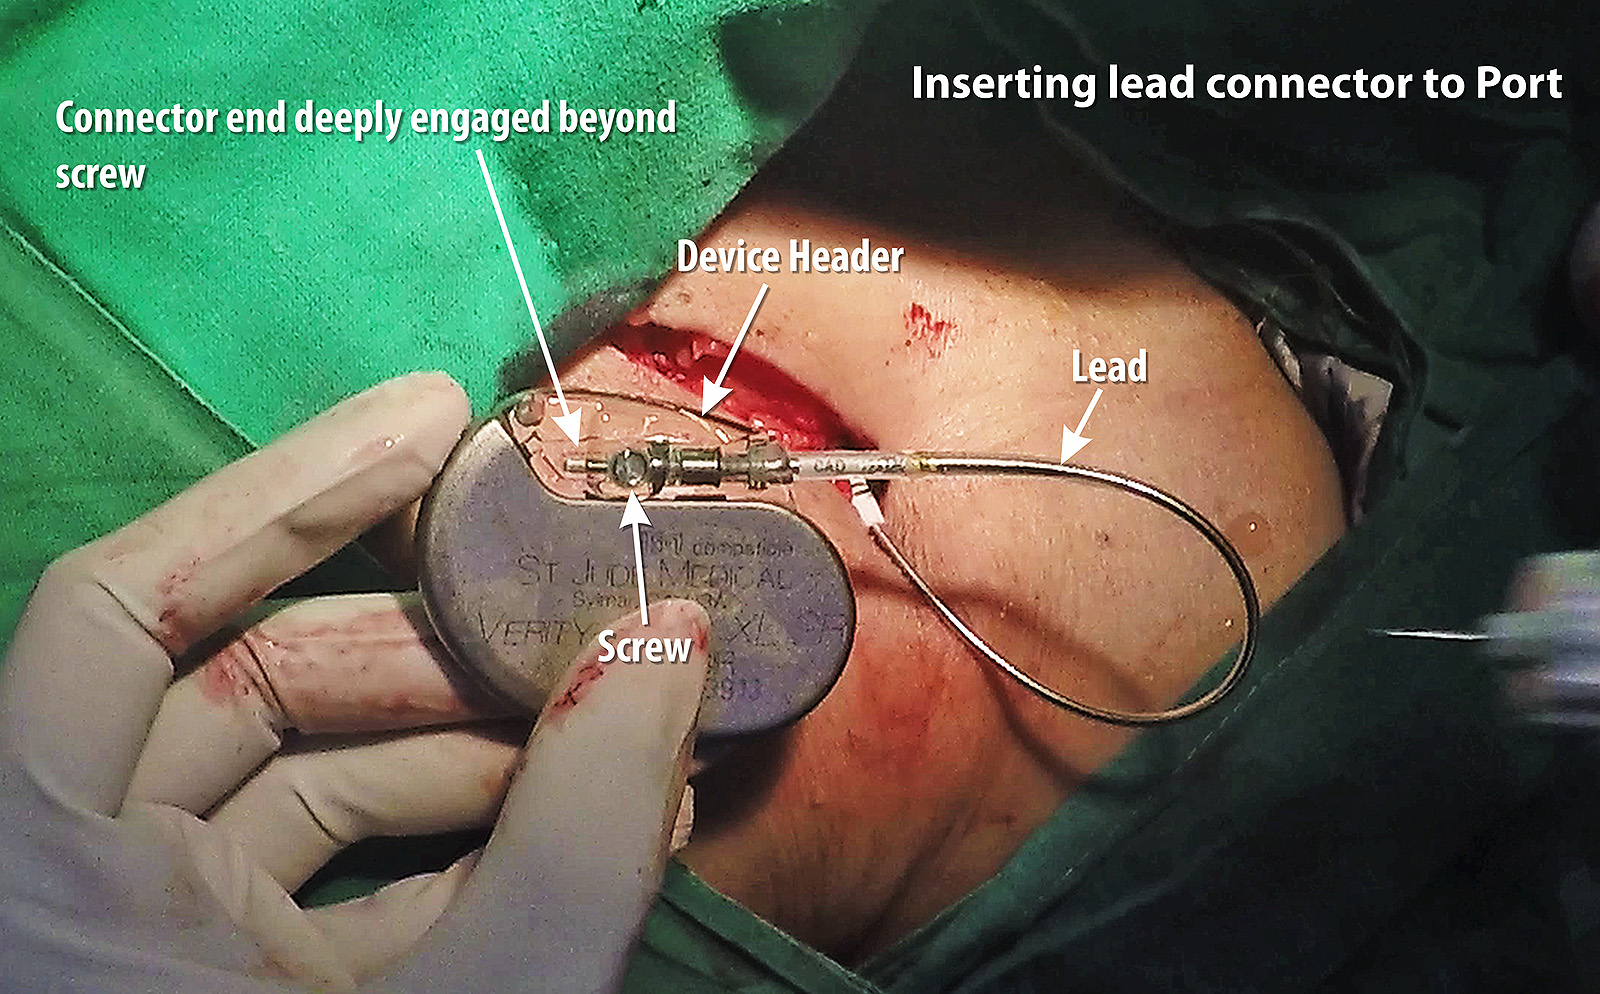
6. Accurate Insertion of Connector to the Port
The connector should be inserted firmly into the port while visualizing the appearance of the distal tip beyond the torque screw of the port. This is vital as if you do not visualize it, the lead may not be fully engaged to the port and may become disconnected in the future.

It is always better to fix the ventricular lead first as this can provide backup pacing if needed.
7. Application of Torque Screw
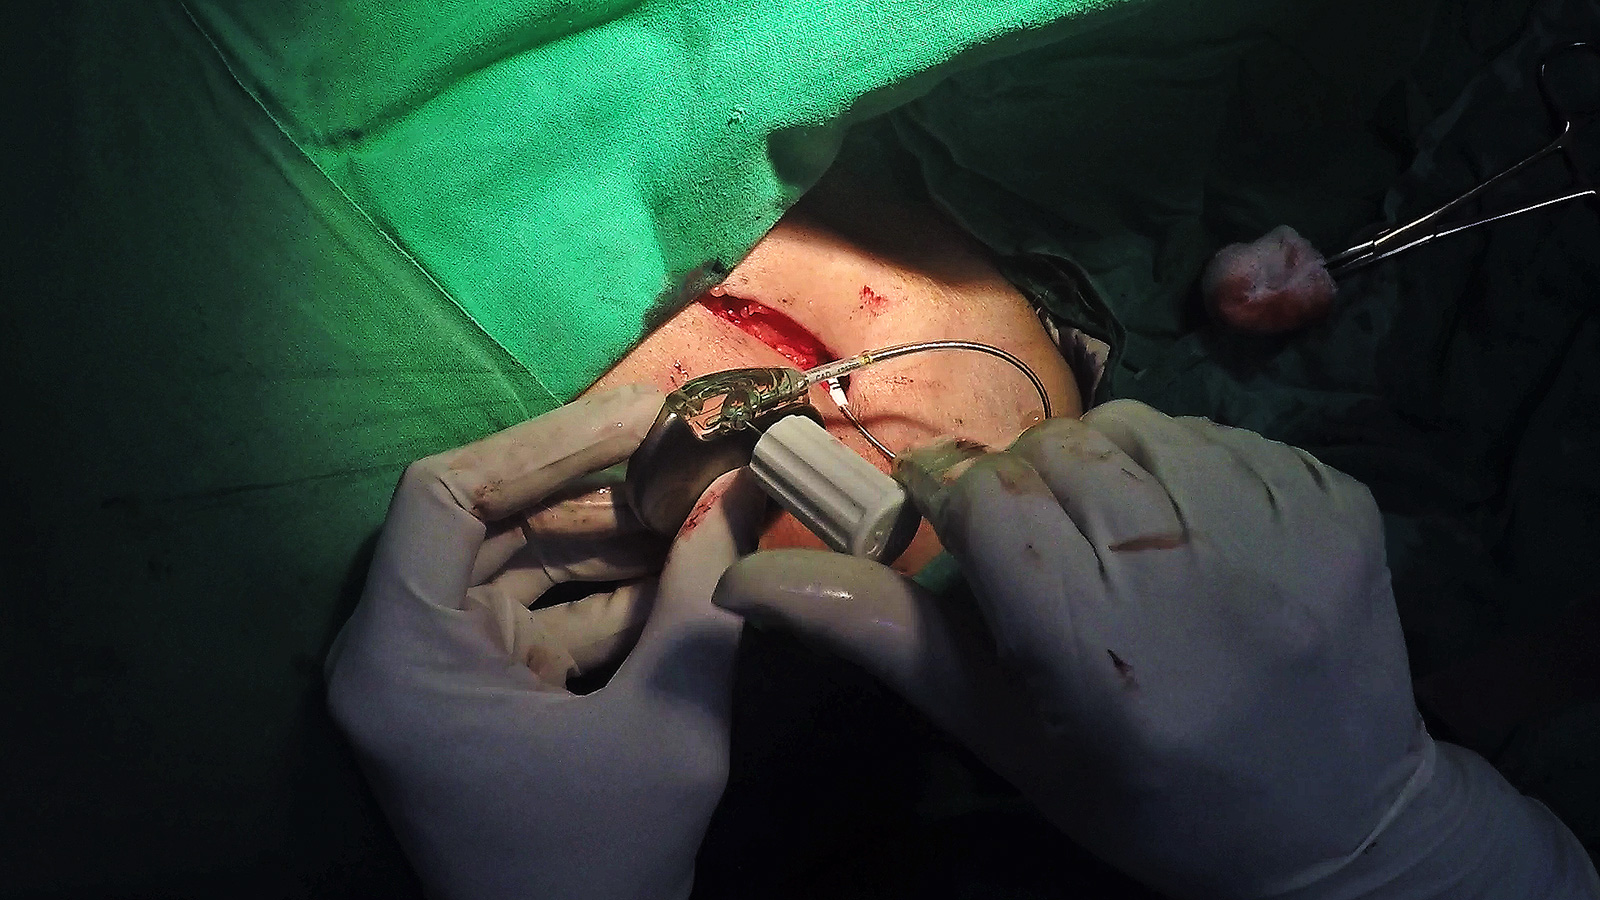
The torque wrench enables deployment of screw that fixes connector to the port.A silicone “gasket” seals the screw providing it security from body fluids and prevents it from completely coming out when de-screwing (e.g during a box change). The torque wrench should be applied through this silicone (there is a hole). until it clicks in. Thereafter the the wrench should be gently rotated clockwise. Once tight enough, the wrench will rotate with a clicking noise but will not tighten further. As soon as few clicks have been heard, the rotation should be stopped and the wrench gently removed from the screw (See demonstration video later)
Never over-screw or yank out the wrench after screwing as you may damage the screw threads. If the threads are damaged, the next person who does the box change is going to be very very unhappy !
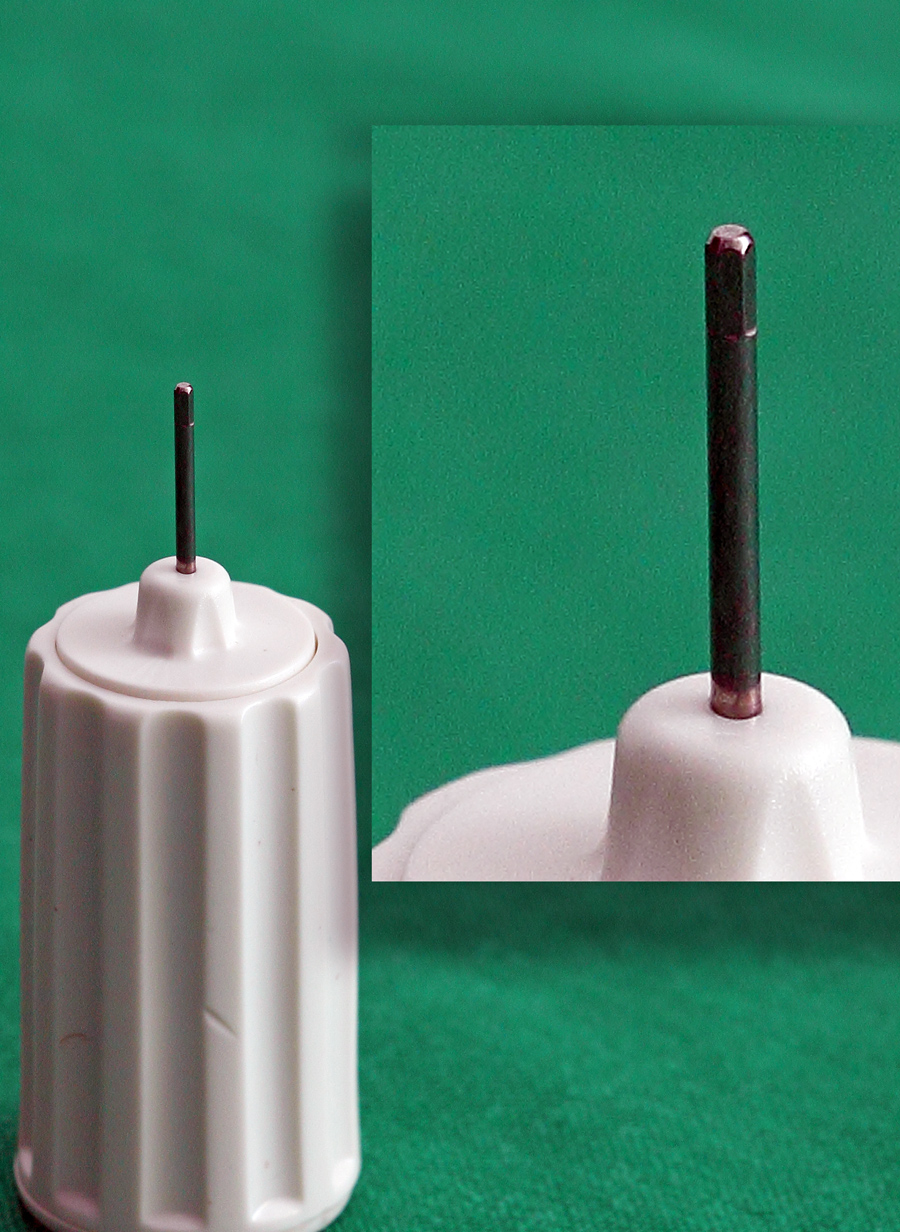
Figure : Torque Wrench, magified view of tip. The screw head a is shaped as a square as per the standard for the port screw. It should be apparent that over aggressive rotations or yanking of the wrench can easily damage the head of the screw.
Once the wrench has been removed, gently tug on the lead to see whether it’s well secure. Pacing will begin only after the screw has been deployed. If there is no pacing, keep the device in the pocket – as sometimes the pacemaker may be unipolar (e.g St Jude Medical’s Microny devices) and requires physical contact with pocket to complete the circuit
8. Placement of Device in Pocket
Once the lead is attached, the device can be placed inside the pocket. It is rotated in a particular way (as demonstrated in the videos below) that makes the redundant loops of lead be under the device when the device is tucked into the pocket. Having the leads covered by the device body prevents the leads from coming in contact with the anterior wall of of the pocket where it can lead to an erosion later on.
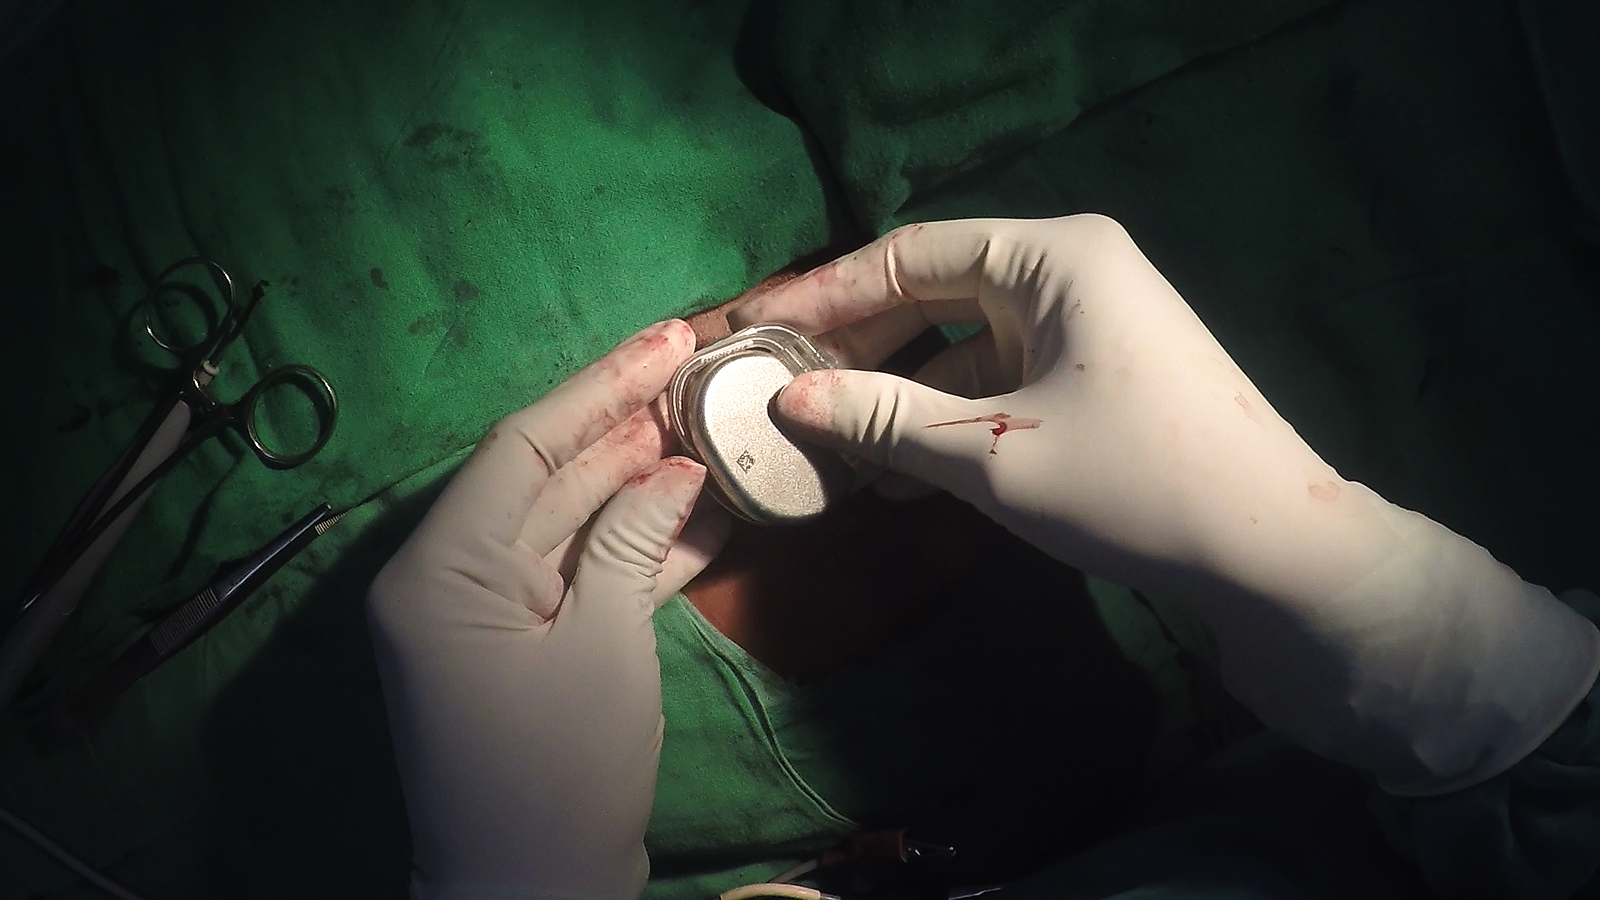
Figure : device rotated – The redundant part of the loop in neatly looped around the device (see video below)
Once the device is in the pocket, an anchoring stitch can be applied to the device through provided hole on the device header. This stitch prevents the device from migrating within the pocket or rotating within it and is applied to the pocket floor (as demonstrated in the video later). For muscular men with tough tissues in the pocket walls, this stitch may be unnecessary – but is very important in obese women with predominantly loose fat to prevent device migration until the pocket capsule is formed.


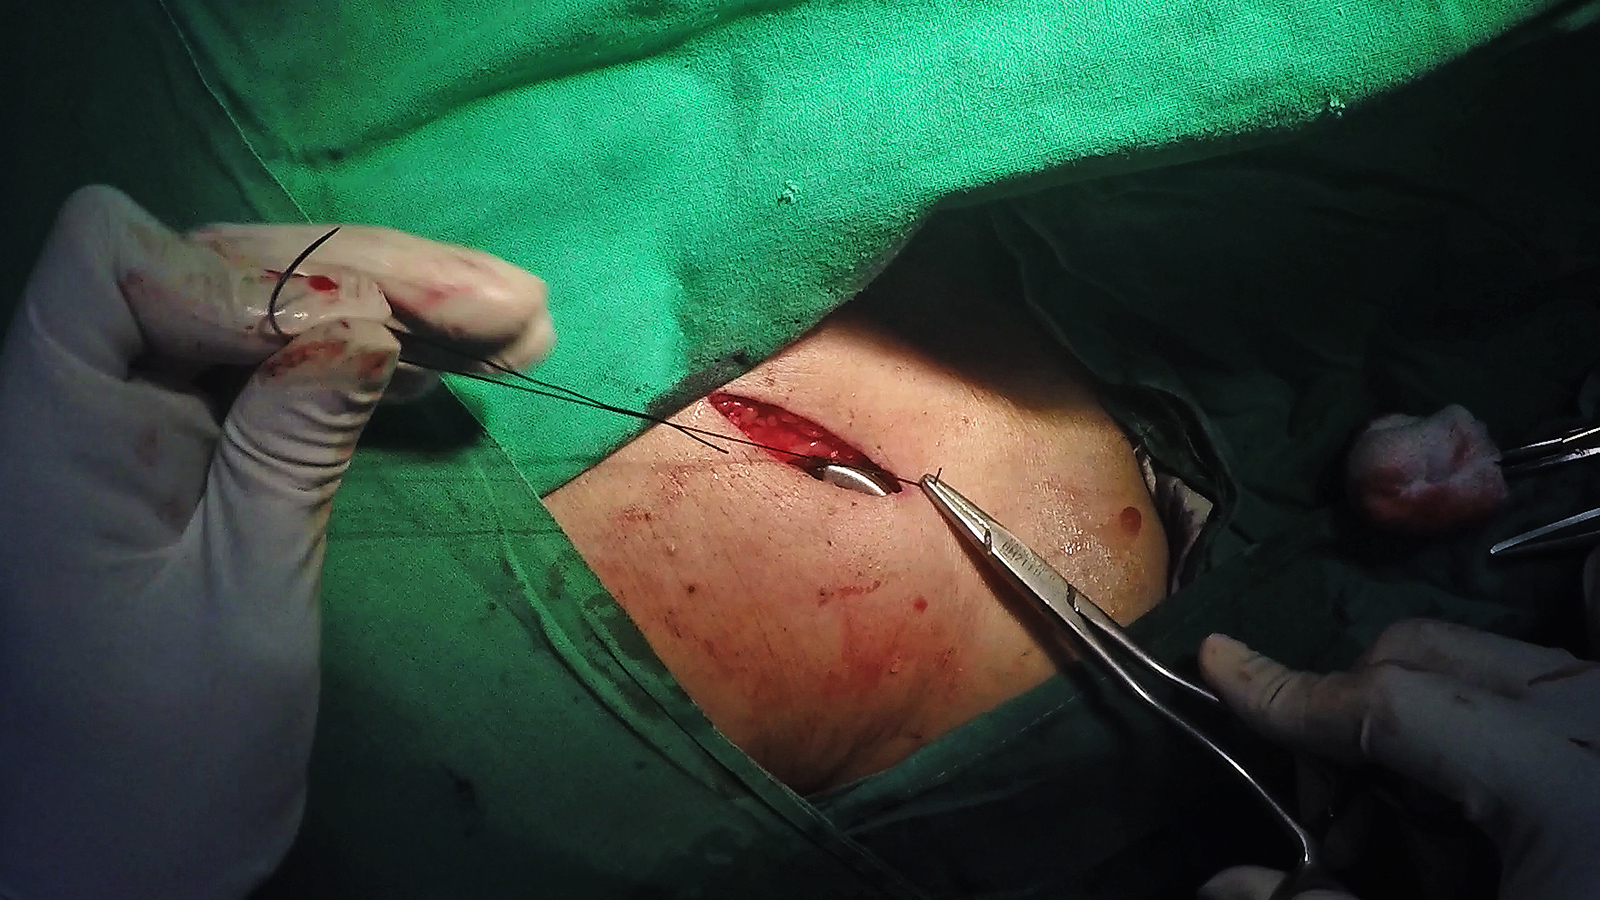
Figure : Anchoring Stitch – Application of anchoring stitch to device
Demonstration Video/s
Video : Device Attachment Example 1. Single Chamber Pacemaker
Video : Device Attachment Example 2. Dual Chamber Pacemaker